A TikToker's DIY save-the-dates went viral here are her easy hacks for upgrading wedding stationary
Mara Leighton

- Eden Muller went viral for her DIY custom save-the-date cards and envelopes.
- Muller broke down the process for viewers in multiple videos. You'll find it outlined all in one place below.
To create the save-the-dates, Muller ordered custom stamps and applied a generous amount of ink to them before rolling them onto paper.
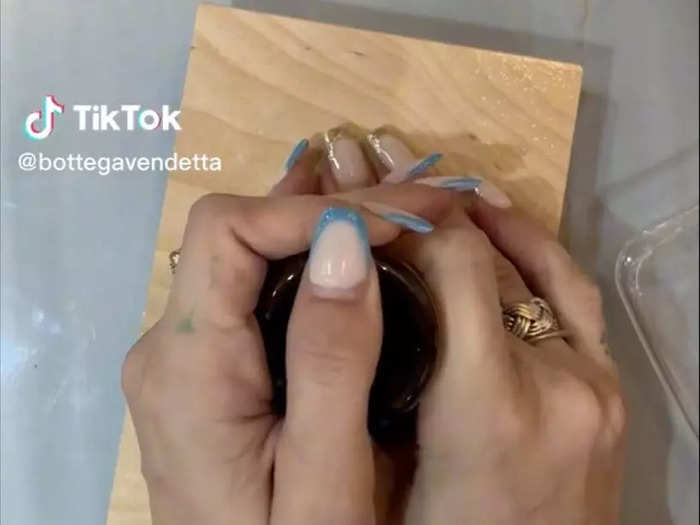
Muller ordered custom stamps and gold ink, which she told viewers she used a "ton" of before she rolled the stamps onto the card paper.
She was adamant that anyone could order such a stamp if they wanted to.
"I'm sure there's a more precise way to do this," she said, "But I just eyeball it."
She glued gold foil to the corners and brushed away the excess.
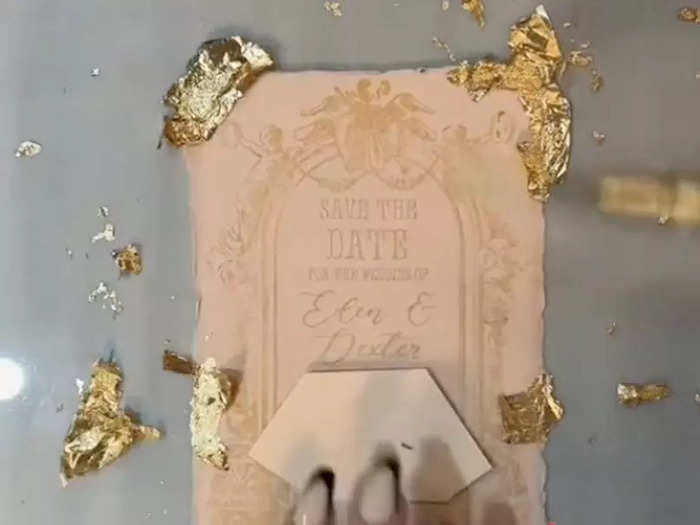
Muller used an adhesive pen to apply glue to the corners and stuck gold foil on top of it as an accent. To remove the excess, she brushed the areas she'd applied foil.
Assumedly for privacy, Muller covered up her wedding site's QR code with scrap paper (seen above) or emojis in her tutorial videos.
Muller added a "final touch" with a custom wax seal stamp to the front.
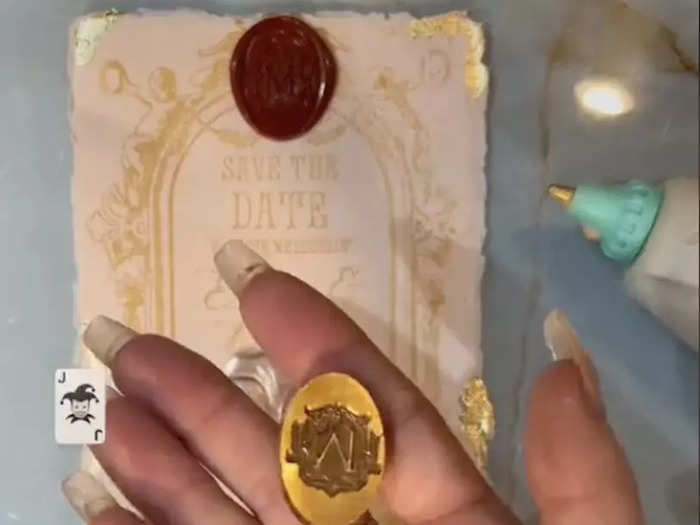
Then, she used a glue gun, stick waxes, and another custom stamp for wax seals to add a wax seal to the front of the card as a "final touch."
Muller used a second custom stamp, a Cricut, and a standard printer to create the back of the card.
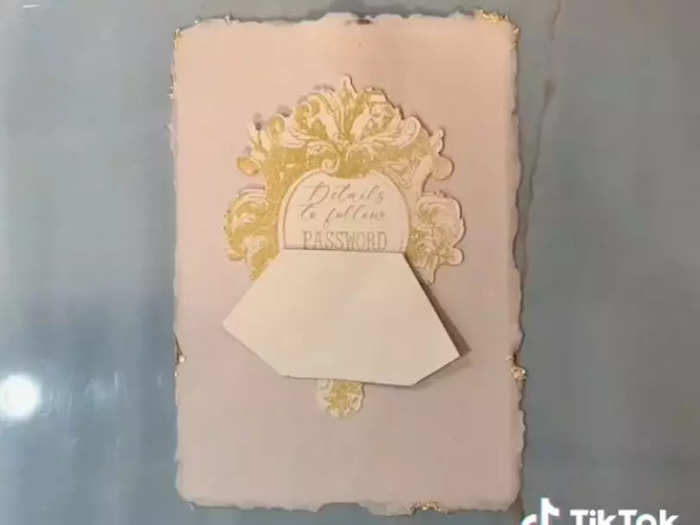
For the back of the card, Muller printed out QR codes (assumedly directing recipients to the couple's wedding information website) with a standard printer.
Then, she appeared to line up the free space on the couple's second custom stamp with the QR codes that she'd already printed, so when she pressed down, the QR code fell in the correct place.
Finally, she used a Cricut to cut out the intricate shape of the stamp and secured the cut-outs to the back of the save-the-date cards with glue tape.
"I'm pretty sure no one believed me when I said I would be making my own save-the-dates using stamps, but it truly was just that simple," she told viewers.
For the custom envelope liners, Muller began by printing out the desired photos on luxe paper.
For her handmade envelope liners, Muller told viewers she used a process she'd found on TikTok herself.
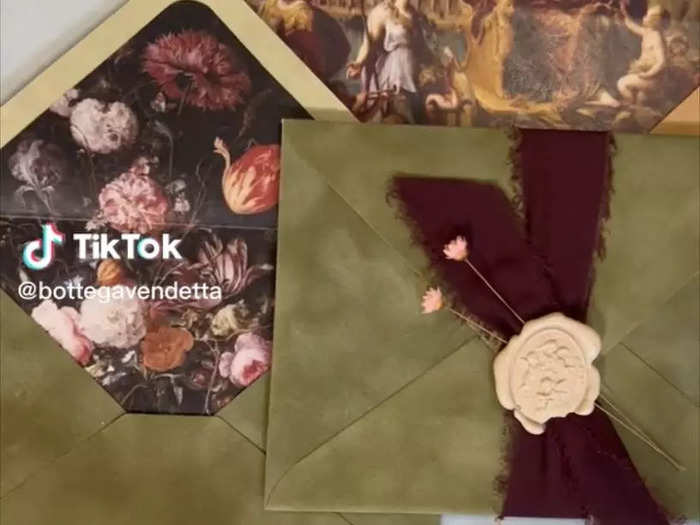
"I'm getting married in Italy. Everything has to be decadent and artistic," she told viewers, explaining that she wanted the invitations to open up into a "little painting."
To begin, Muller printed out the desired images at FedEx onto legal-sized "magazine paper." (According to FedEx, magazine paper typically means coated paper, which helps sharpen images and details when printed upon).
In comments, Muller explained the magazine-style paper "is thin but [has] a nice texture."
Then, she used matte Mod Podge glue to make the photos more closely resemble paintings.
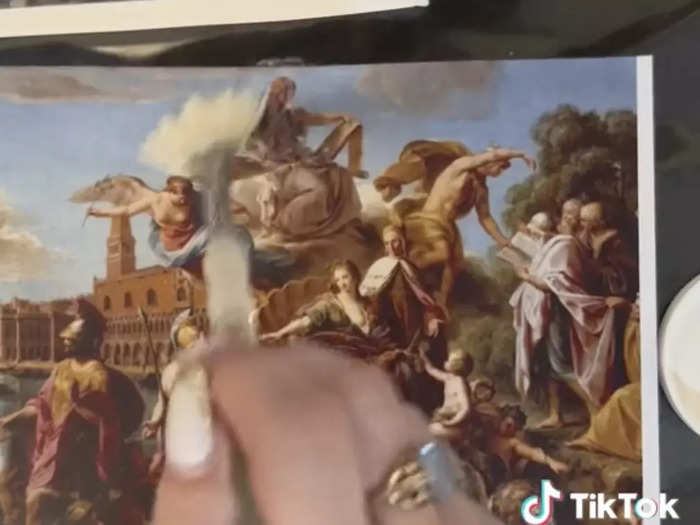
Using an old and textured brush, Muller swiped on matte Mod Podge to give the printed images "the texture and effect of a painting."
When asked what her theme was, the bride told commenters it was "difficult to articulate, but dramatic, historical, moody, artful."
Next, she stenciled the shape of the envelope onto scratch paper to use as a guide for the liner.
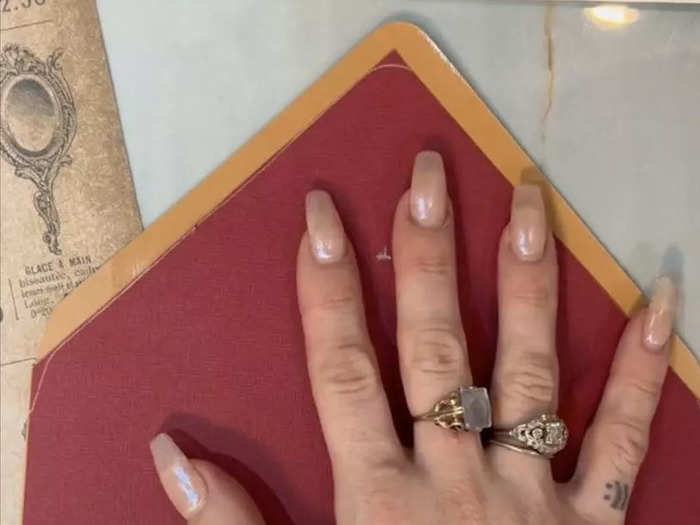
Muller stenciled out the exact shape of her envelope onto thick scratch paper and cut it out. (This stencil eventually helped Muller cut out an appropriately sized liner).
"Don't use the rounded edges that your stencil gave you," Muller warned viewers, "cut them to sharp points." (Eventually, Muller used a different tool to round the topmost edge of the liner to match the envelope).
Then, she compared her stencil to her original envelope and corrected it where necessary so the liner could eventually slide easily into the envelope.
Muller then cut the liner in the shape of the stencil she'd made — again, keeping the sharp corners.
Muller used a corner punch tool to round the topmost edge to match an envelope's shape.
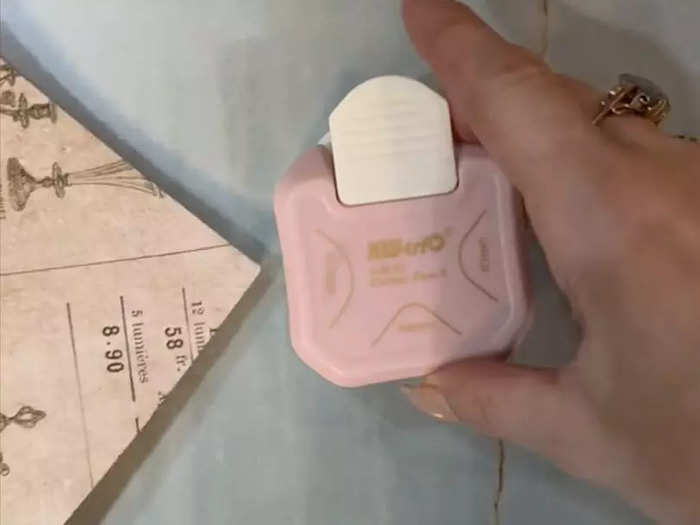
Muller used the "largest, roundest setting" on a corner punch tool to clip the topmost point to match the envelope's rounded edge.
Next, she slid the liner into the envelope carefully, lining it up before pressing down on the glued sections.

Muller added glue tape to the topmost edges (skipping the bottom), slid it carefully into the envelope, and gently lined the liner and envelope up before pressing down and sticking the liner to the interior. To create a crease, she then folded the envelope.
Finally, she filled the envelopes and sealed them with another wax seal and a bow.
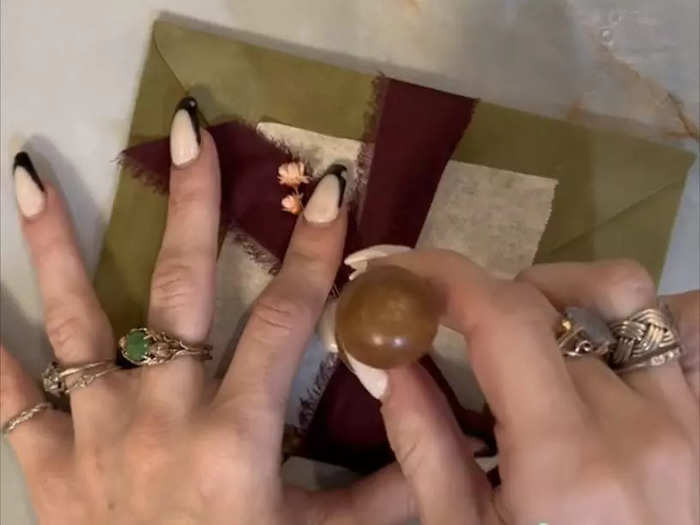
After sliding the custom save-the-date cards into the envelopes, Muller tied a bow around each and finished the process with another wax seal stamped onto the back of the envelope.
Muller said by the end of the process she was making multiple liners at a time.
In the weeks since she originally posted her tutorials, Muller has shared more wedding content ahead of her Lake Garda nuptials — including other crafty DIY projects, such as custom Bridesmaids proposal boxes and a multi-page "information deck" in the same "historical, artful" theme.
Popular Right Now
Advertisement