I tried Martha Stewart's no-bake cheesecake and it's the easiest dessert to make for summer cookouts
Lauren Edmonds

- Martha Stewart shared the recipe for her no-bake cheesecake as an easy and simple summer treat.
- The dessert only takes just over three hours and doesn't require a water bath.
- The crust was surprisingly strong, but the filling needed more than the suggested time to firm up.
Martha Stewart's simple no-bake cheesecake calls for only seven ingredients.
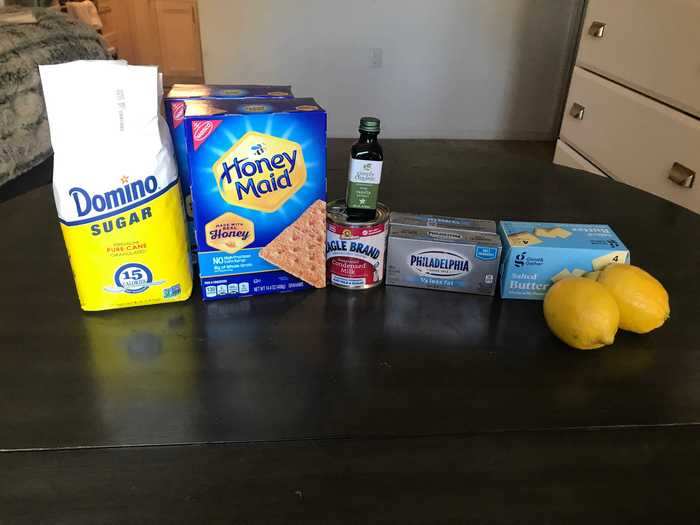
To make Martha Stewart's no-bake cheesecake, you'll need:
- Two packages (20 sheets) of graham crackers
- 11 tablespoons (or 1 ⅜ sticks) of unsalted butter
- Two tablespoons of granulated sugar
- Two eight ounces packages of cream cheese at room temperature
- One 14-ounce can (or 1 ¼ cups) of sweetened condensed milk
- ½ cup of fresh lemon juice
- 1 teaspoon of vanilla extract
On her website, Stewart noted that her no-bake cheesecake is a sweet, kid-friendly recipe perfect for scorching summer days. Unlike typical cheesecakes, Stewart's recipe doesn't say to bake the crust in the oven or use a water bath — sparking more than a few questions on my end.
Water baths, or bain-marie, help ensure cheesecakes stay creamy and avoid surface cracks. So without the usual heat, I wondered if the lifestyle guru's recipe would rise — or crumble — to the occasion.
In total, the no-bake cheesecake took about three and a half hours to complete with 25 minutes of prep time.
Step one was crushing two packs of graham crackers in a resealable plastic bag.
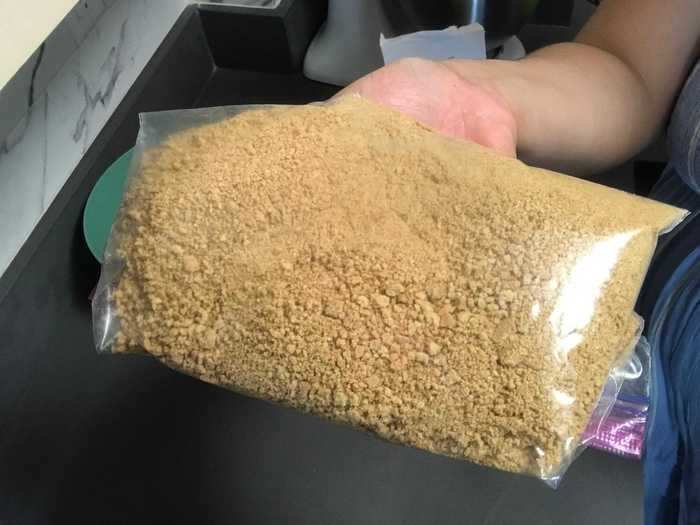
As it turns out, crushing graham crackers is a great stress reliever!
The first task was creating the crust's basic foundation by using two packs of store-bought graham crackers. Stewart suggested putting 20 graham crackers into a resealable plastic bag and using a rolling pin to crush them into very fine crumbs.
If any bakers want to speed up the work, then a food processor should do the trick.
I then combined the graham crackers with melted butter and sugar to make the cheesecake crust.
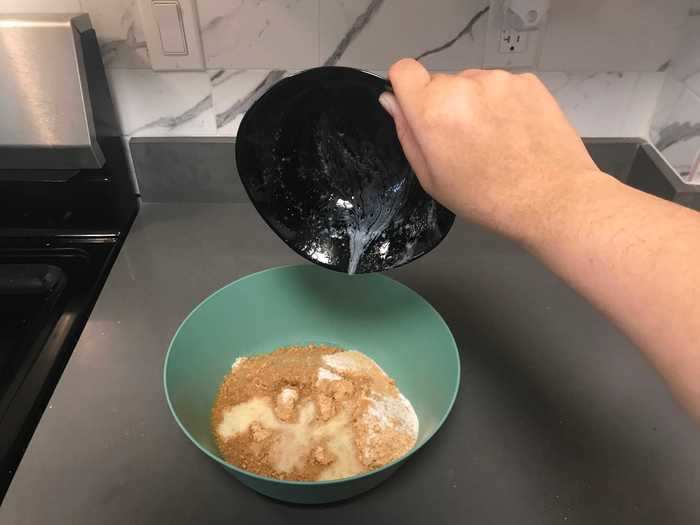
Once the graham crackers become crumbs, pour them into a medium-sized bowl and add the last two ingredients: butter and sugar.
In typical Martha fashion, she didn't shy away from calories and called for 11 tablespoons of melted, unsalted butter. Two tablespoons of granulated sugar were added to ensure a sweet taste in tandem with the honey-flavored crackers.
The three ingredients should be well combined, and bakers should see the crackers take on a slightly darker tone because of the butter.
In addition to creating a pliable mixture to form the crust, the smell was absolutely amazing and made my apartment smell like a New York bakery.
A measuring cup was perfect for pressing the graham-cracker crumbs into the springform pan.
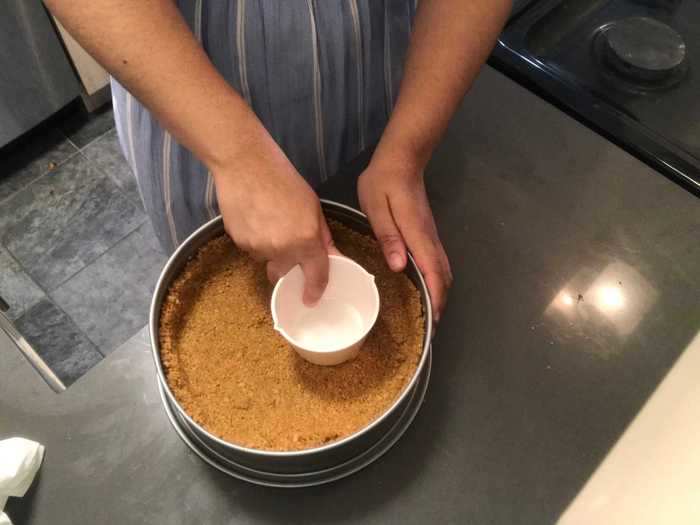
Next, the recipe said to press the crumb mixture flat into a nine-inch springform pan, measuring 1 ½ to 2 inches up the side.
Instead of using my hands, I used a large measuring cup to firmly press the bottom and sides into place. This part was straightforward, but I struggled to make the sides of my crust look like the perfect, sharp-edged crust from the recipe's photos.
I eventually decided my crust would have "character" and let it chill in the freezer for 10 minutes.
Step four was creating the cream cheese-based filling, which needed condensed milk for sweetness and lemon for a slight zest.
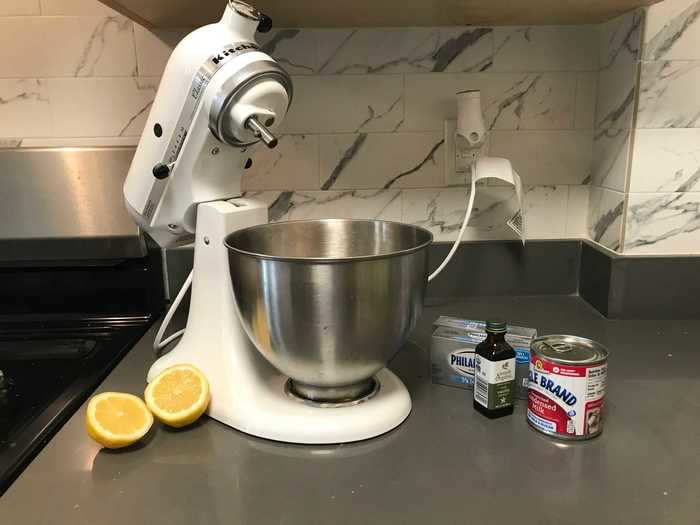
The filling calls for just four ingredients: cream cheese, condensed milk, vanilla extract, and lemon juice.
I placed two packs of Philadelphia Cream Cheese warmed to room temperature inside a stand mixer, and beat at medium-high until smooth.
Make sure that the cream cheese is thoroughly mixed to avoid any unwanted clumps.
I used my KitchenAid stand mixer to combine the ingredients one by one.
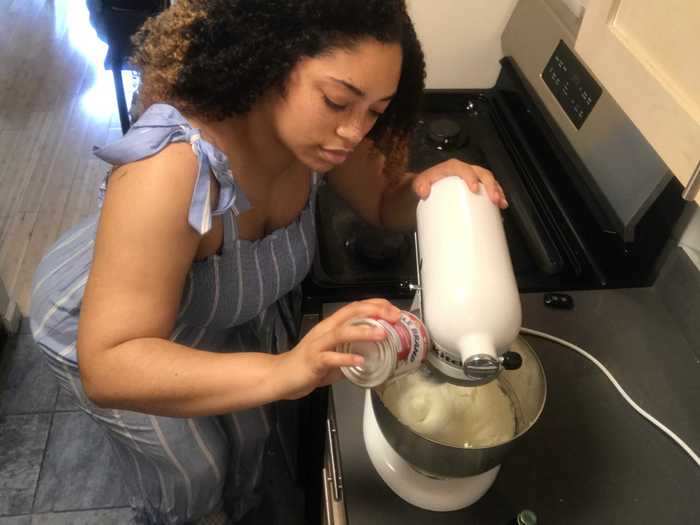
Per the recipe, I added the condensed milk little by little and periodically scraped excess from the side of the bowl.
Although most people would simply buy a bottle of lemon juice, my local store was fresh out, so I purchased fresh lemons instead. If bakers want to go the fresh route — as Martha Stewart would recommend — it takes only one lemon to get ¼ cup.
Beat all the ingredients together until evenly combined.
The cheesecake was placed in the fridge to set the filling and crust.
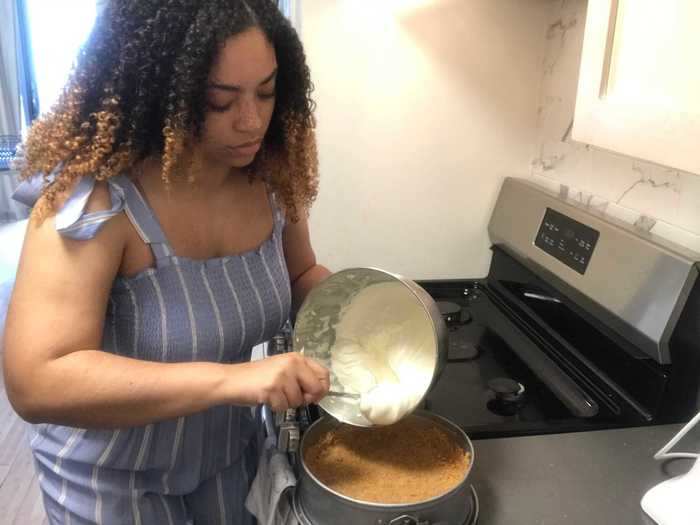
I removed the graham cracker crust from the freezer to find it firm but moist.
After pouring the filling into the crust and smoothing the top with a rubber spatula, I covered my dessert with plastic wrap to refrigerate for two and a half to three hours.
My biggest fear with no-bake cheesecake was that I would remove the springform pan, and the entire thing would deflate like a balloon. Since it wasn't baked and only sat in the fridge for around three hours, I wouldn't have been surprised if my dessert had collapsed in the middle.
At first look, I was pleasantly surprised that the no-bake cheesecake didn't crumble and melt off the rip.
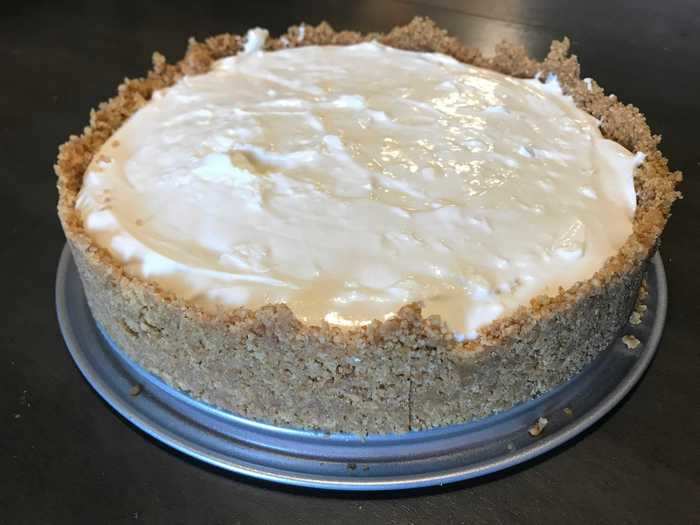
My heart stopped when I unclasped the springform pan, eyes wide with anticipation over whether the no-bake cheesecake would hold its form.
But to my surprise, the cheesecake held up pretty well. It didn't fall to pieces when I held the springform pan "Lion King"-style in the air or when I tilted it sideways to double-check.
The filling wasn't necessarily as dense as a typical cheesecake — I'd compare the texture to vanilla cream pie — but it wasn't nearly as runny as I anticipated. The no-bake cheesecake also didn't have a rubbery mouthfeel.
However, I decided to experiment with the recipe by placing the cheesecake inside the freezer for an additional hour to see what would happen.
Pro tip: Leave the no-bake cheesecake inside the freezer for additional time to get a firmer texture and a nice crunch from the crust.
The no-bake cheesecake should definitely make an appearance at cookouts this summer, but it can't outdo the standard recipe.
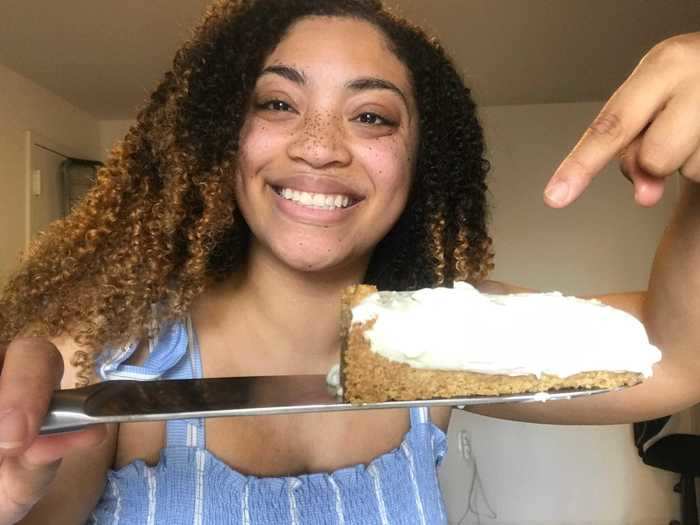
The real breakout star of this dessert was the crust, which remained intact with very few crumbs on the table. At one point, I used a knife to trim my crust's ragged edges, and not once did it crack under pressure — just a few crumbs here and there.
It's the type of simple crust that's versatile and can go with several simple desserts.
The condensed milk, sugar, and cream cheese melded to create a very sweet filling that was only elevated by the honey-based graham crackers. That being said, I think the lack of eggs detracted from the overall texture, and the result wasn't as thick as it could have been.
Besides the crust, the best thing about the no-bake cheesecake was how easy it was to make. Unlike Stewart's 13-hour cinnamon rolls, this cheesecake is stress-free and fabulous for last-minute dessert ideas.
While the no-bake cheesecake could shine at cookouts this summer for its creamy texture and delicious crust, it's no competition to the original baking method.
This is an opinion column. The thoughts expressed are those of the author(s).
READ MORE ARTICLES ON
Popular Right Now
Popular Keywords
Advertisement