How to use Apple's new Photos app
Once you've downloaded and installed OS X 10.10.3, you'll find the new Photos app waiting for you. You can find it in your Applications folder, or using Spotlight Search.

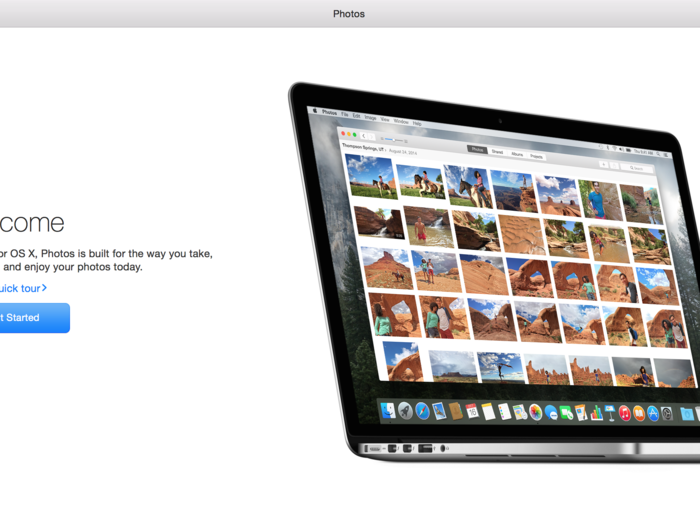
You get a welcome screen when you first open the app.
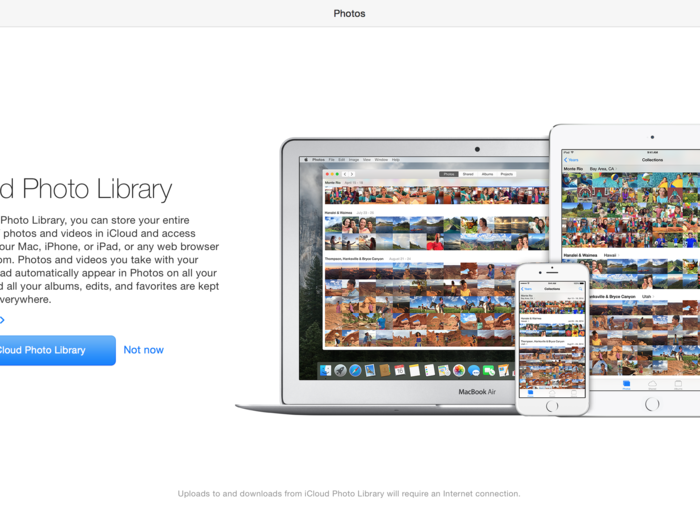
In the second screen, you'll get a chance to activate the iCloud Photo Library, which lets you store all your photos in the cloud so you can summon them anywhere and they don't take up valuable storage on your phone.
If your photo library is over 5GB — that's how much free space you'll get from iCloud Photo Library — you'll have a chance right away to purchase a monthly plan that fits your storage needs.
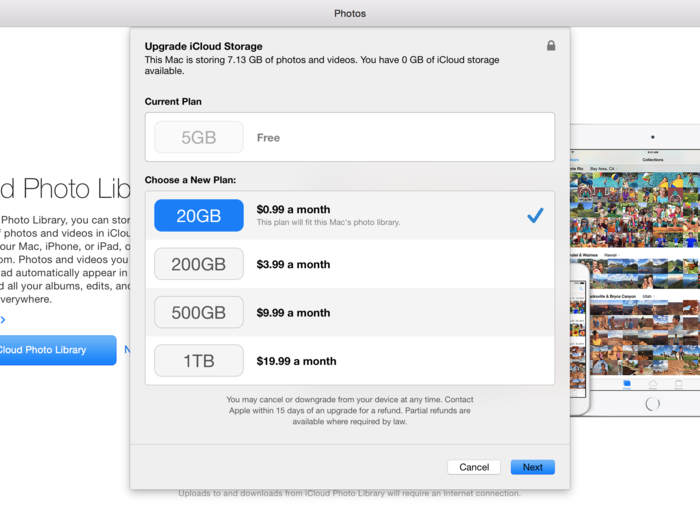
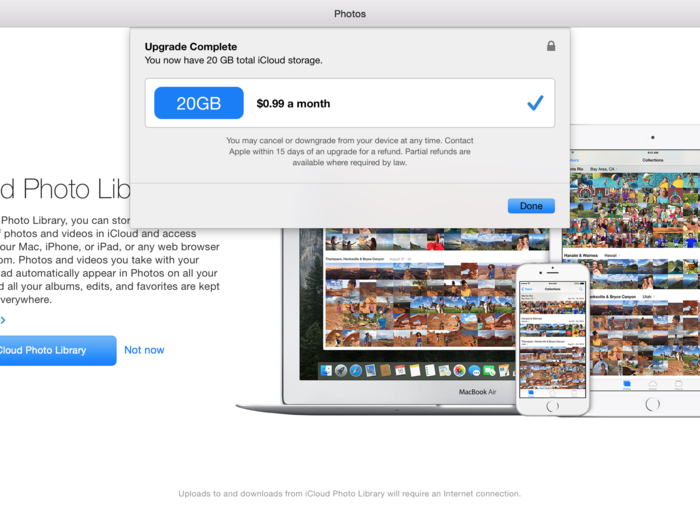
You can always change your monthly plan at any time, but 20GB gives me all I need right now, so I'll go for that $0.99 per month option.
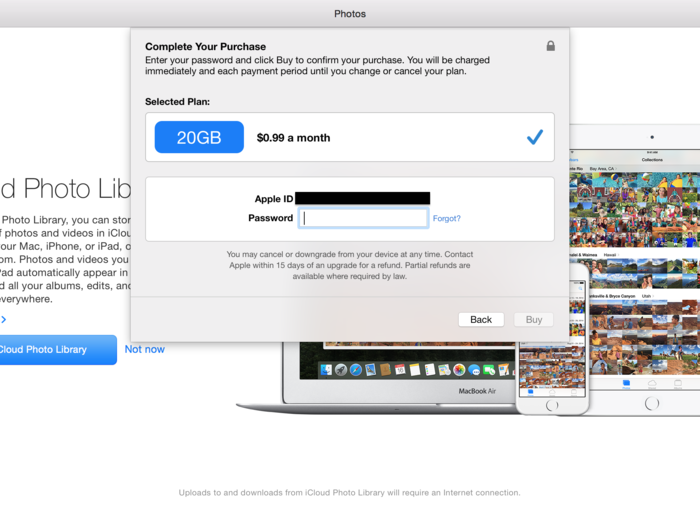
Once you enter your Apple ID and password, your storage plan will kick in immediately.
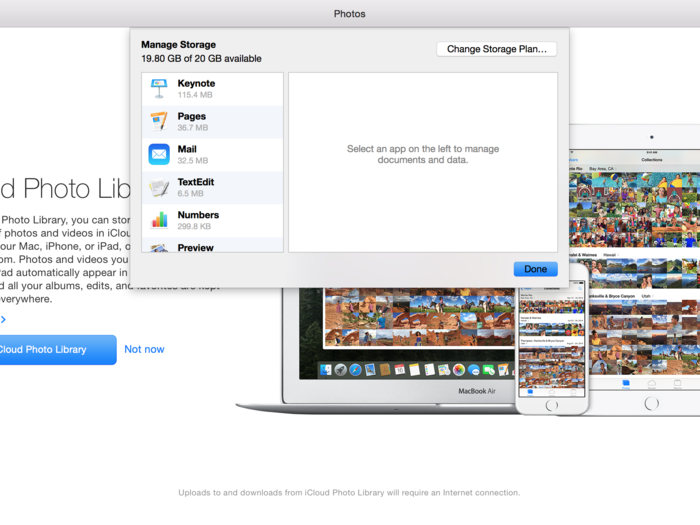
You'll see how much cloud storage you're currently using, and you can manage which apps use iCloud from this screen.
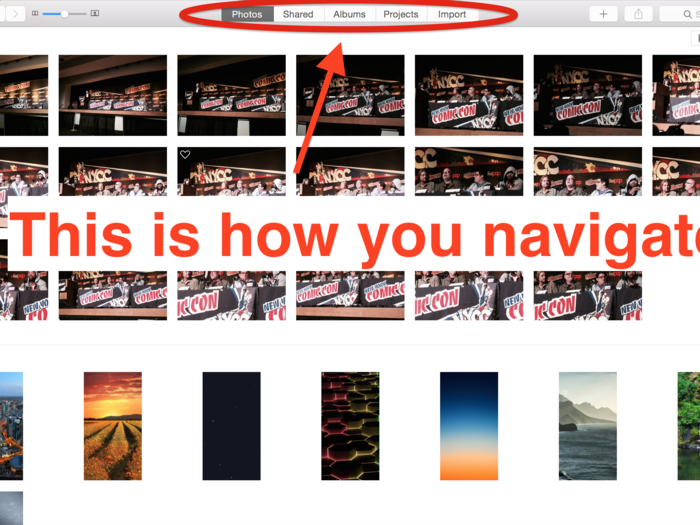
The row of tabs along the top is your main interface for the Photos app.
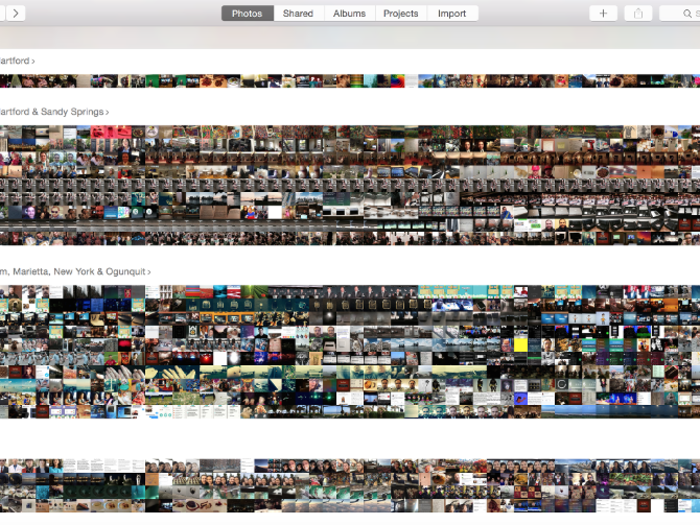
This is the "Moments" view in the Photos tab. You can clicking the back and forward buttons to navigate between Moments, Collections, and Years.

This is the "Collections" view in Photos.
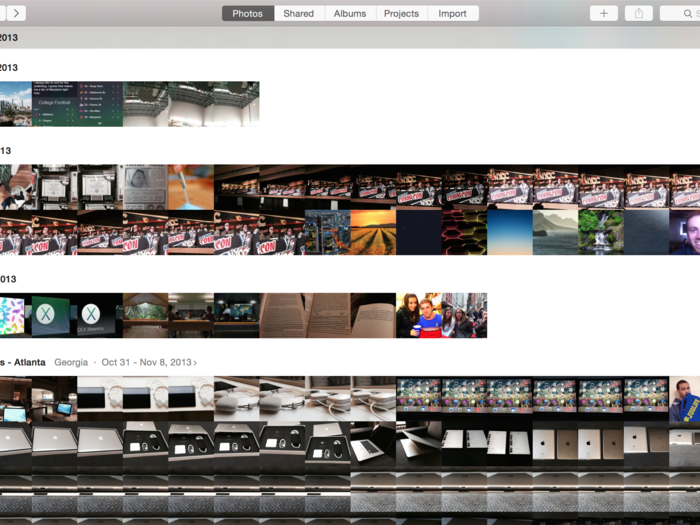
And this is the "Years" view.
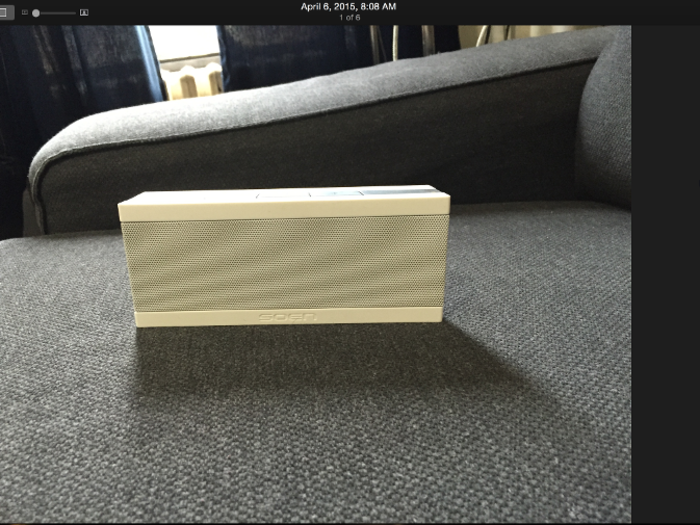
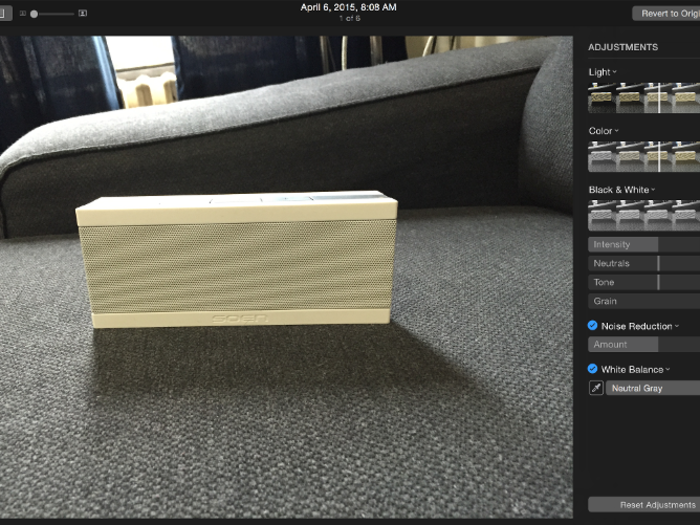
You can edit your photos in this tab, too.
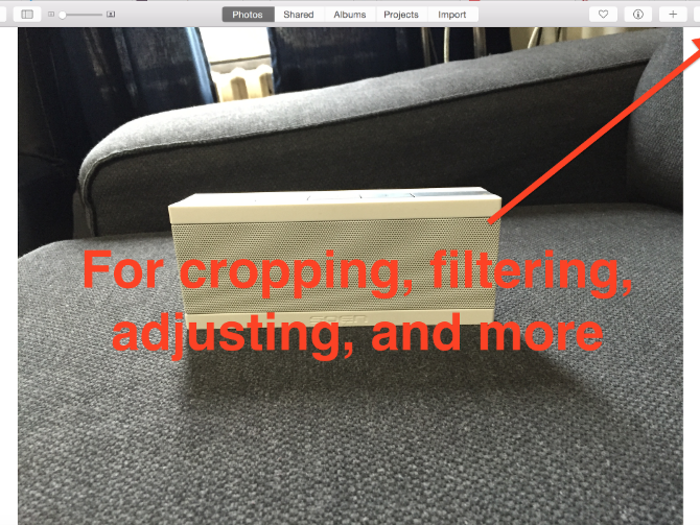
All your editing options are on the right panel.
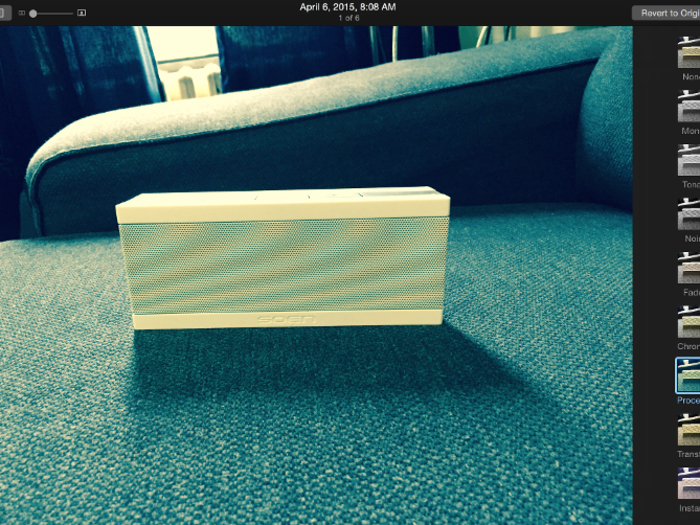
Your filter options line up in a column.
You can adjust the light, color, noise, white balance, and more — just add which adjustments you want from the menu and fine-tune away.
You can also retouch your photos, just choose the size of the area you want to cover up and touch away.
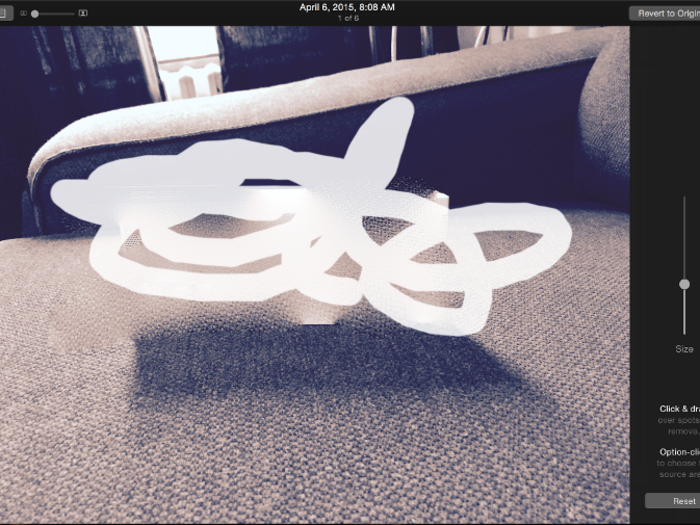
Perfect!
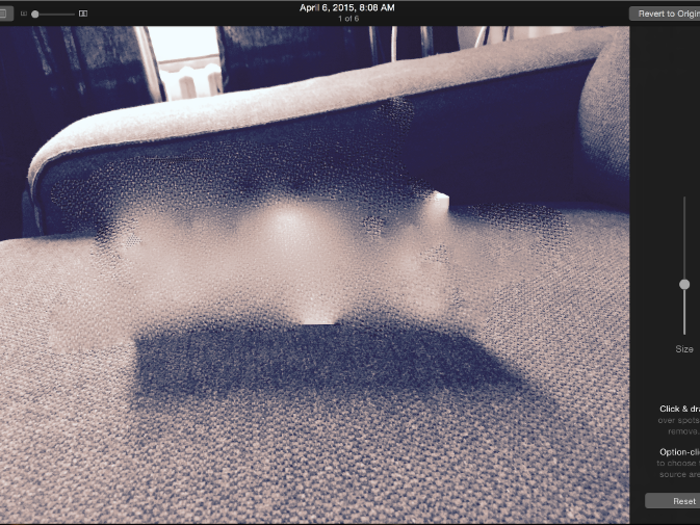
This is what happens when you try to retouch everything. I don't recommend it. Luckily, you can revert back to the original at any time, so don't worry about experimenting.
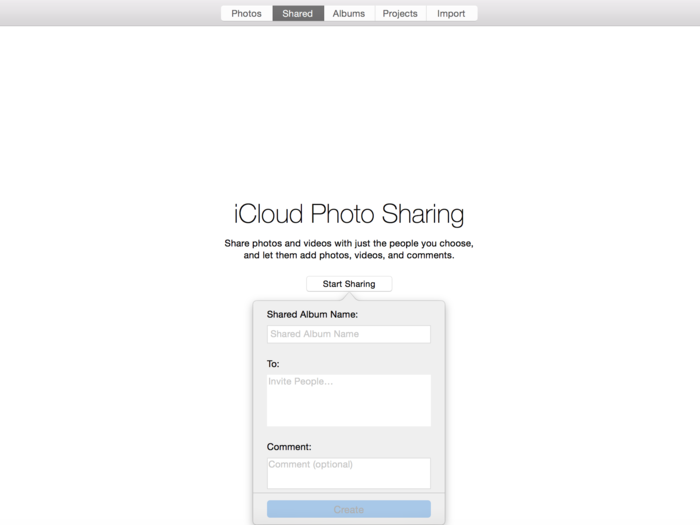
From the Sharing tab, you can create an iCloud Photo Album, which lets you share photo albums with any of your contacts. Your contacts can also "heart" and comment on individual photos from that album, or the album as a whole.
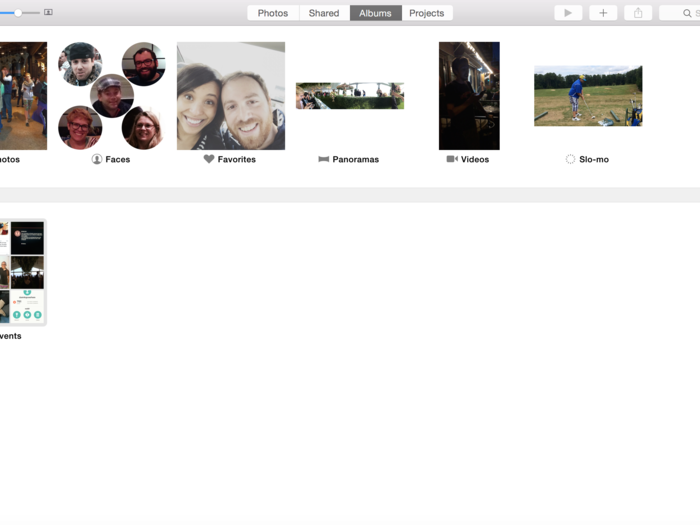
In the Albums tab, you can view all your photos and videos, view and organize your photos with Apple's face-recognition software, and view panoramas and slow-mo videos from your iPhone.
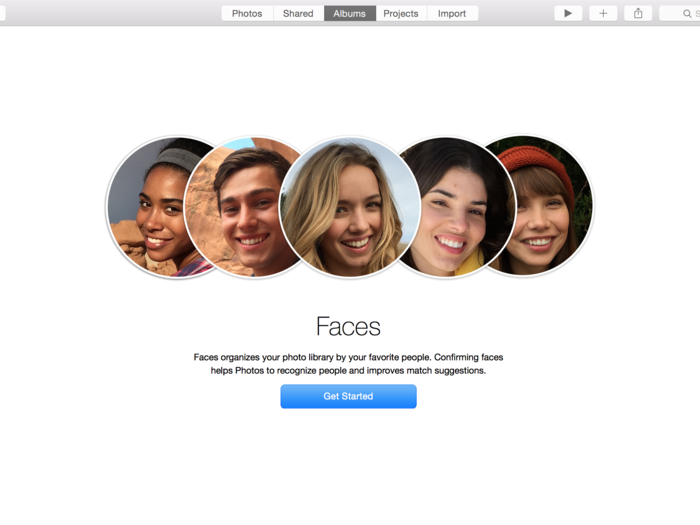
This is the Faces feature you'll find in the Albums tab. It helps you go through your hundreds of photos to find friends and family.
You can trim your videos and edit any slow-mo effects right in the app. But don't expect this to be Final Cut, or even iMovie; this is for simple trimming and adjustments.

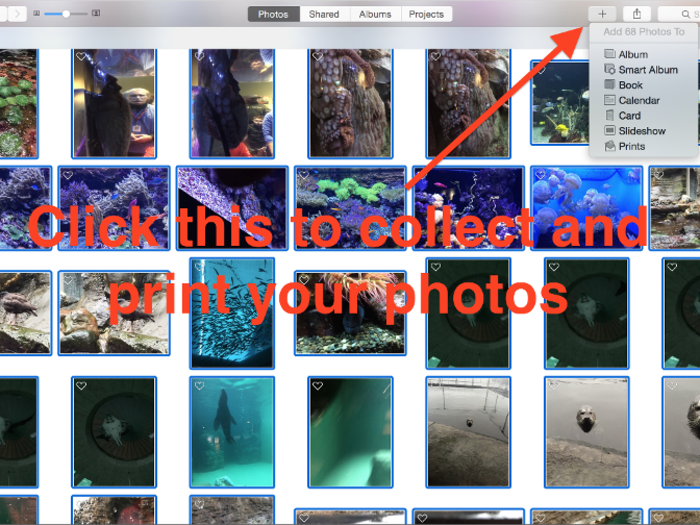
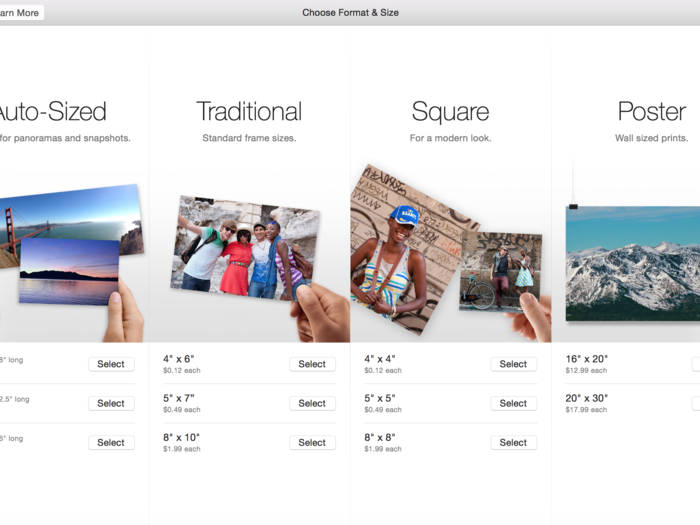
In the "Projects" tab, Apple facilitates printing services for all your photos.
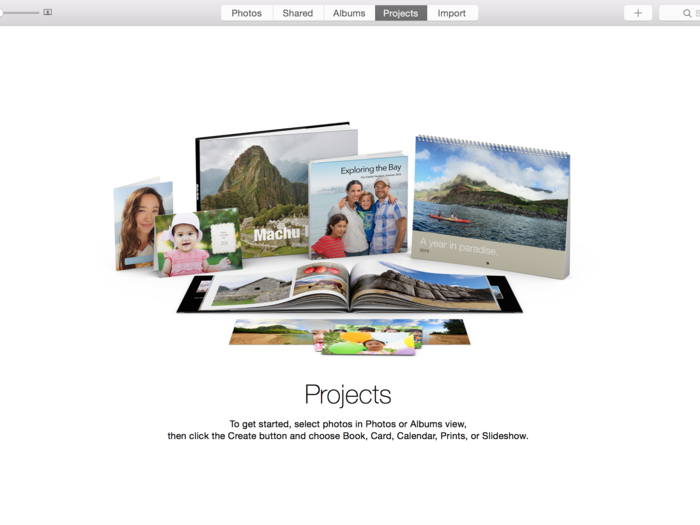
When you select a group of photos, press the plus button in the toolbar to choose a printing option.
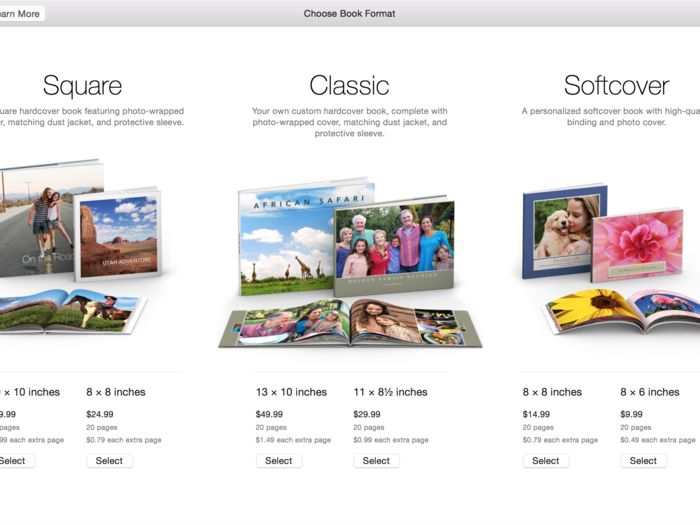
You can choose to make your photos into a book...
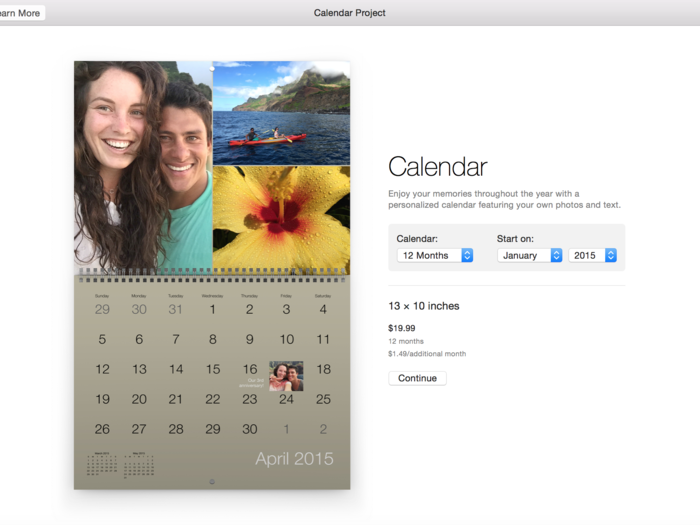
...Or a calendar...
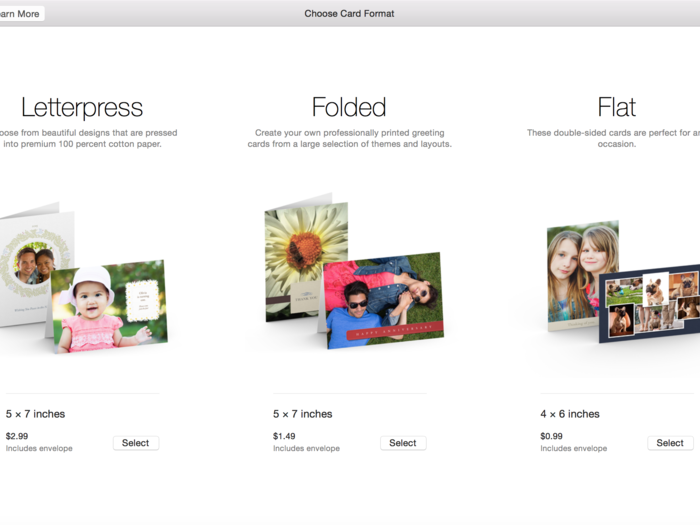
...Or a greeting card...
...Or a print.
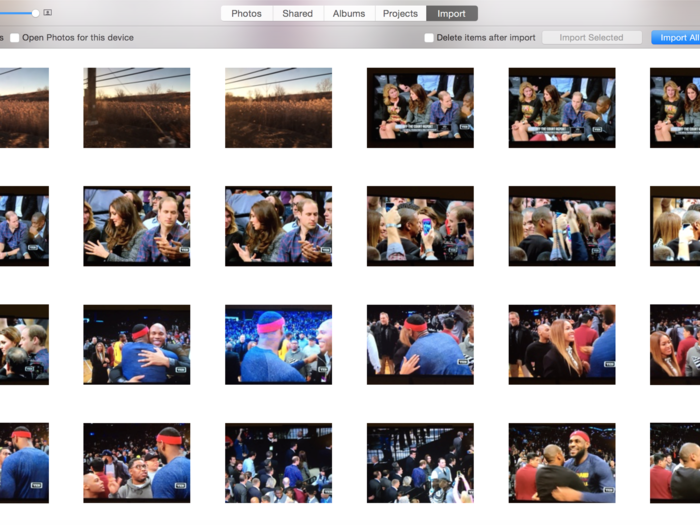
When you plug in your iPhone, a fifth tab will appear for "Import." Like the old iPhoto app, you can choose to import all your photos and delete them off your phone.
Now that you've learned the new Photos app, here's another visual guide on another new Apple innovation...
Popular Right Now
Popular Keywords
- India’s wearables market decline
- Vivo V40 Pro vs OnePlus 12R
- Nothing Phone (2a) Plus vs OnePlus Nord 4
- Upcoming smartphones launching in August
- Nothing Phone (2a) review
- Current Location in Google
- Hide Whatsapp Messages
- Phone is hacked or not
- Whatsapp Deleted Messages
- Download photos from Whatsapp
- Instagram Messages
- How to lock facebook profile
- Android 14
- Unfollowed on Instagram
Advertisement