- Home
- smallbusiness
- Lifestyle
- This home coffee setup will get you brewing like a pro for less than $120
This home coffee setup will get you brewing like a pro for less than $120
First, order your beans.

Find beans that you like, and buy them in bulk.
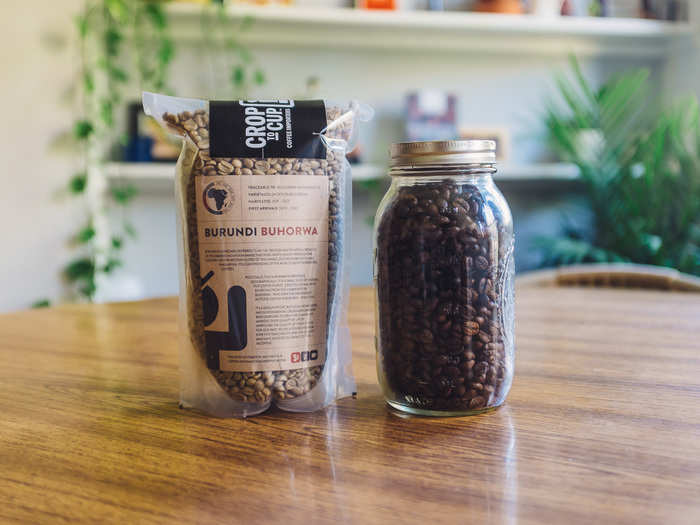
Once you try a coffee that you like, note the roast, country, and town or farm where the beans came from.
For example, I like Kickapoo Coffee Roasters' medium roasted beans from the Idido co-op in Yirgacheffe, Ethiopia. So I searched for "Yirgacheffe Idido green coffee" on Google and found these beans for $8 or less a pound from a wholesaler.
Bean prices range from $4 to $8 per pound depending on the quality — I usually opt for the $6-7 beans. I suggest buying three to five bags at a time so that you'll have more if you end up liking the ones you buy. And if not, you can always give your roasts away as presents.
Some of the bean suppliers I recommend are Sweet Maria's, Happy Mug, Crop to Cup.
Total cost: $40+, depending on how many pounds buy in bulk
Once you have your beans, it's time to roast them. You can do this using a popcorn popper.
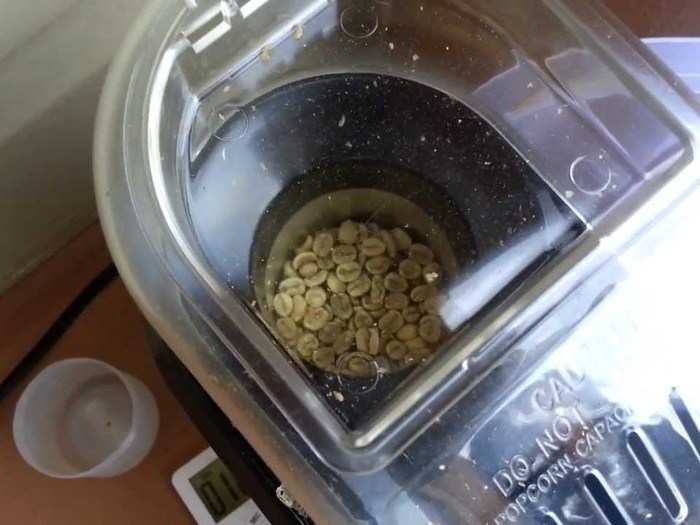
You might think you need an expensive piece of equipment to properly roast coffee beans, but really, you just need something that can 1) apply oven-level temperatures to the beans and 2) distribute the heat evenly.
You can actually use popcorn poppers to roast them — but not just any popper! You'll need a hot-air popcorn popper, or something like a Whirley-Pop stovetop popper.
According to coffee supplier Sweet Maria's, hot-air poppers work well because they blast the beans with a constant flow of hot air. As long as you put in less than 4 ounces of beans, that air will be strong enough to whip them around, evenly distributing the heat. (For that reason, you'll want to look for a popper with side vents.)
When roasting, monitor the beans for audible cracks that occur when they expand from the heat. A second crack means it's a medium roast, and about two minutes after that it'll become a dark roast. This roasting process usually takes five to eight minutes per batch. You'll need a bowl nearby to catch the chaff the popper spits out.
Hot-air poppers can be found for as little as $5 in thrift shops (that was the price at Goodwill the last time I checked), but Amazon also sells them for around $22. The only downside is the low volume: You'll need to roast four or more batches of beans to make 12 ounces of coffee.
Total cost: $5 to $22.
Another roasting option is a stovetop Whirley-Pop.
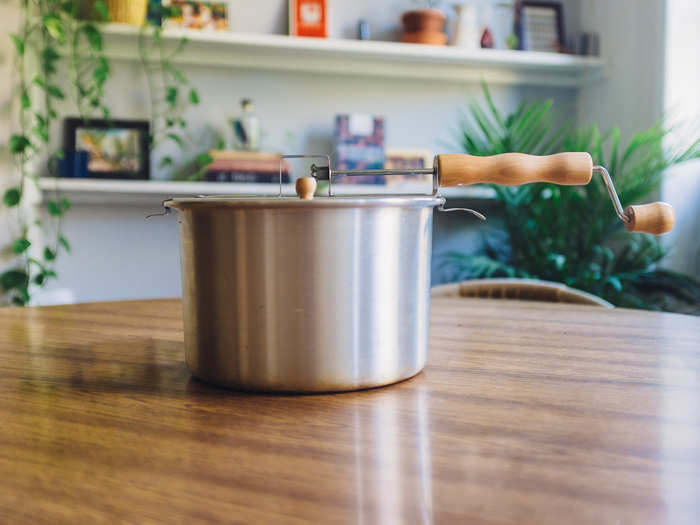
If you have a gas stove, consider a Whirley-Pop. These run for $26 on Amazon, and like a hot-air popper, can double as a popcorn popper.
The only difference is that you can feed this up to 8 ounces of beans at a time. Put the gas on medium-low, and crank the handle to stir the beans. You'll need to keep doing this for about 8 to 11 minutes and monitor your beans carefully toward the end.
When you're done, pour the beans into a colander and blow the chaff off into a sink.
Price: $26
When your beans are roasted, the next step is grinding.
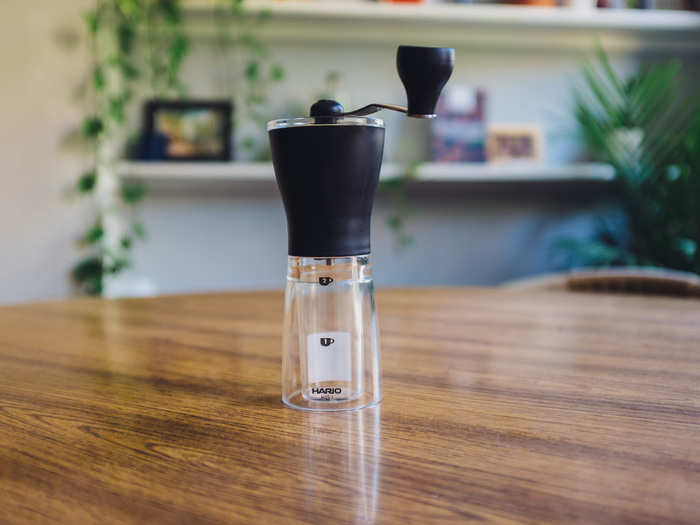
After you've roasted your beans, pour them into an airtight container (like a mason jar or coffee bag) and wait a day or two to let them oxidize. Then you can grind them.
The Hario Mini Mill is a well-reviewed manual grinder. To change the grind texture, you just have to twist the mill at the bottom. (You can grind just a few beans to test how they come out.) The Mini Mill's plastic chamber holds about two cups' worth of coffee grounds. Grinding them up will take a good bit of elbow grease.
For four dollars more, you can buy a Hario Skerton, which has a nicer glass chamber and holds a couple days' worth of coffee.
Total cost: $22
If you don't want to grind your beans at home, you can also bring them to a local supermarket or cafe.
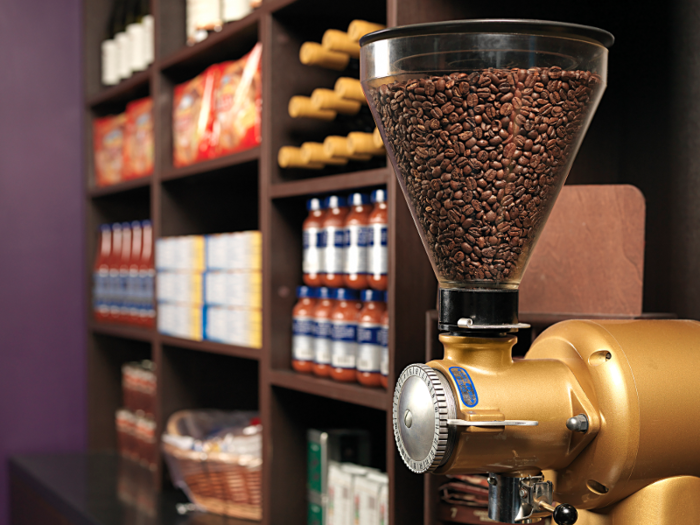
If you're not ready to invest in your own grinder or just want a frugal way to grind a lot of beans quick, I'd suggest going to a local supermarket that sells its own coffee, whether that's a Whole Foods or less-frequented chain. Those places are likely to have an $800-plus commercial coffee grinder.
Yes, you'll look frugal. And you'll have to flick the little lever that empties the chute of everyone else's grinds. But you'll get a decent, uniform grind (as long as the machine doesn't look like it's at the end of its lifespan).
If you're friendly with a local barista, a second option is to bring your beans to a cafe that has a grinder. Tell them you have a home roast going on and ask nicely if they'd be willing to grind beans for you.
Total cost: Free
Now you're ready to brew.
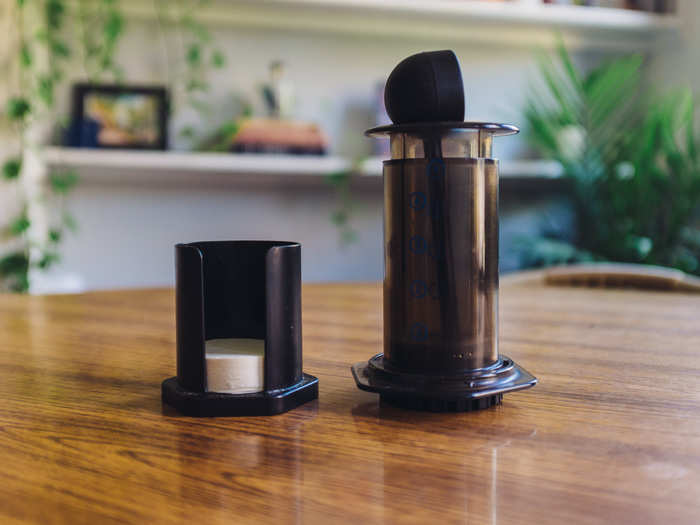
For brewing beginners, I'd recommend an Aeropress.
I stopped using a French press after realizing that having murky sediment at the bottom of your mug is no way to live. An Aeropress produces a terrifically clean cup of coffee, with very little cleanup.
The Aeropress works by brewing the grounds at the bottom of a filtered chamber. After letting them brew in boiling water for about 90 seconds, put the rubber plunger in the chamber, push, and the coffee will drip through the filter with very little sediment.
The cleanup is easy, too: Simply unscrew the sieve at the bottom and push the plunger the rest of the way through — the grounds should fall out. Each Aeropress comes with a pack of 350 filters, so you likely won't run out for an entire year.
This is by far the cheapest and best way to make a clean-tasting cup of coffee. You'd really have to try to mess this one up.
Total cost: $30
If you want drip coffee, you can also opt for the Kalita Wave.
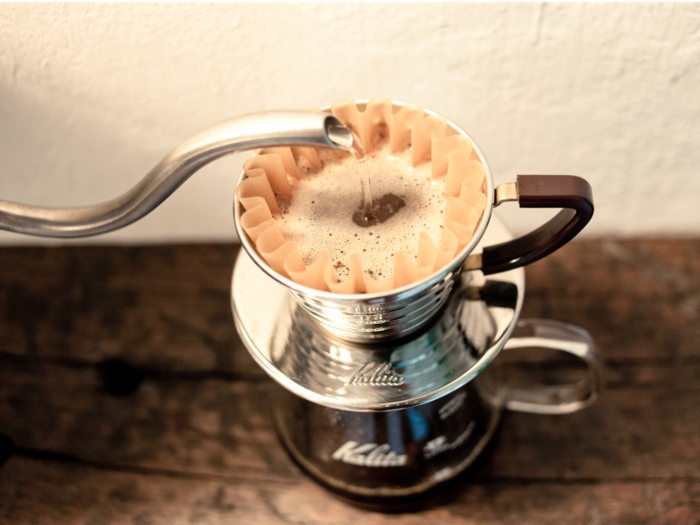
For people who like pour-overs, another brewing option is the Kalita Wave. The Japanese device requies special ridged filters, which give the product its name.
The Wave was the brewer of choice for Erin McCarthy, the 2013 World Brewers Cup champion. Home product review site The Sweethome also chose the Wave as its best hot-brew model, and explains that the design of the filters allows for slower brew times and more nuanced flavors.
The quality of the filters also ensures that you won't taste any paper in the drink, and their rigidness means the grounds won't be affected by temperature changes as you're brewing (thinner filters would allow the wet grounds to stick to cooler surfaces).
There are metal and ceramic versions of the Wave; just make sure to match the filter size to the size of the brewer you choose.
Or there's always cold brew.
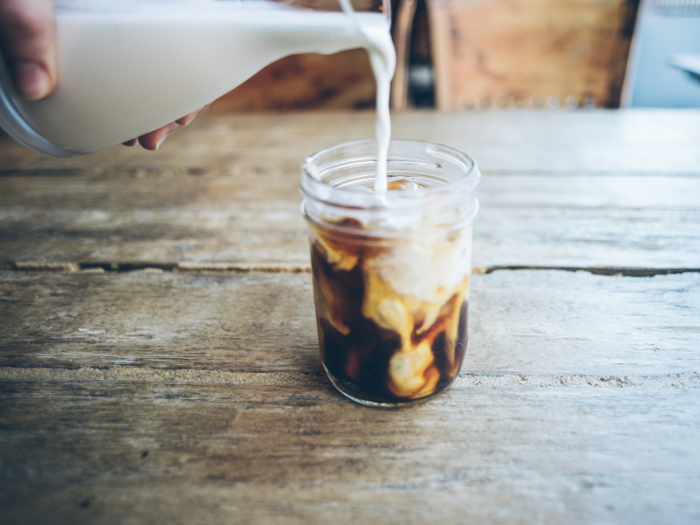
Cold brew has exploded in popularity — even Starbucks is making it. The brewing process requires longer steeping times, but the product is less acidic, to the relief of anyone who's ever chugged a regular iced coffee.
I recommend one of these three cold brewers:
The Nut-Milk Bag ($9) is essentially a tea bag that you fill with coffee and place in a pitcher. The problem is the cleanup: Grounds can stick to the mesh, and you'll need to wash it well to get rid of the oils.
For a little more, you can get a Toddy ($30) or a Filtron ($40). Both are decades-old cold brewers that are easy to handle. The difference is that the Toddy requires you to add water gradually in five-minute increments.
With the Filtron, you simply dump a pound of grounds into one chamber, and put 64 ounces of water into a chamber above it. The water will slowly drip down, brewing the coffee over the course of 12 to 24 hours. At the end, you pull a stopper and let the coffee flow into a glass carafe.
Total cost: $9, $30, or $40
Once you've assembled these pieces, you'll be brewing coffee like a pro in your own kitchen.
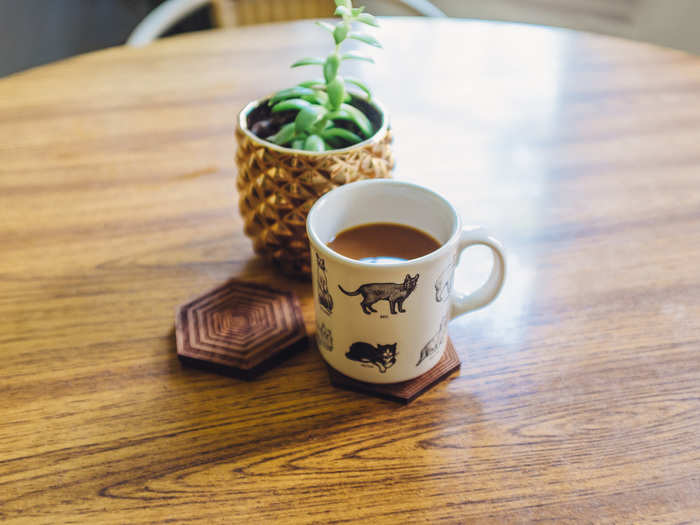
The real value of making coffee at home is learning what goes into a cup beyond your 30-second interaction with a local barista.
With this home coffee system, you'll probably spend the most on the beans themselves, which will always be a running cost. The rest of the equipment, ranging from anywhere from $15 to $45, will be paltry up-front costs that could save you lots of money in the long run.
You'll need to do a bit of trial and error to get your roasting down, but at the end, you'll have gained more than just savings.
Popular Right Now
Popular Keywords
Advertisement