- Home
- slideshows
- miscellaneous
- How to repair a hole in drywall in a few simple steps - and the tools you need to do it
How to repair a hole in drywall in a few simple steps - and the tools you need to do it
Here's what you need to repair a hole in drywall

How to repair small holes in drywall
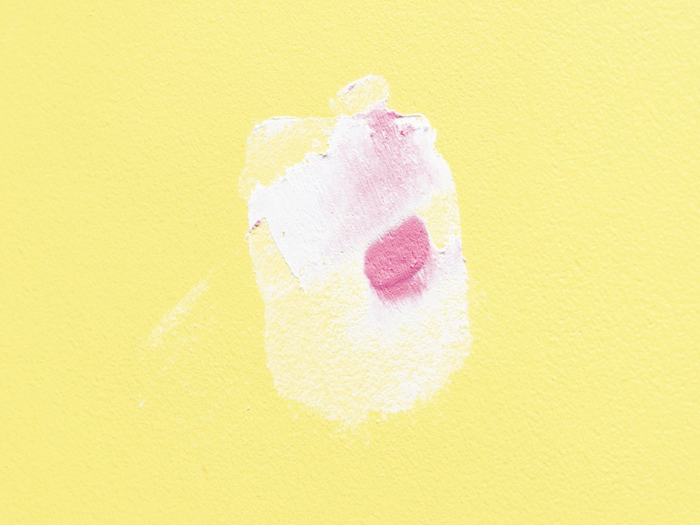
Smaller holes (anything less than a ½ inch) caused by nails, wall anchors, or coaxial cables, can easily be fixed with just some spackling paste and sandpaper.
Here's a tip: If you have any wall anchors in place that aren't easily removed, don't worry about pulling them out. Doing so will likely just shred the drywall and create an even bigger and messier hole.
Instead, use a utility knife to cut off the exposed plastic collar of the anchor. Then, take a screwdriver with a head slightly smaller than the anchor, and use a hammer to gently tap the rest of the anchor a bit further into the wall. If you're dealing with any plastic or metal self-drilling anchors, use your utility knife to carefully cut and remove a small amount of drywall around the collar of the anchor, just enough for you to screw it into the wall an 1/8 of an inch.
This technique allows you to deal with a much shallower hole, and the now-depressed anchor will give your spackle the support it needs.
Step 1: Prep the hole
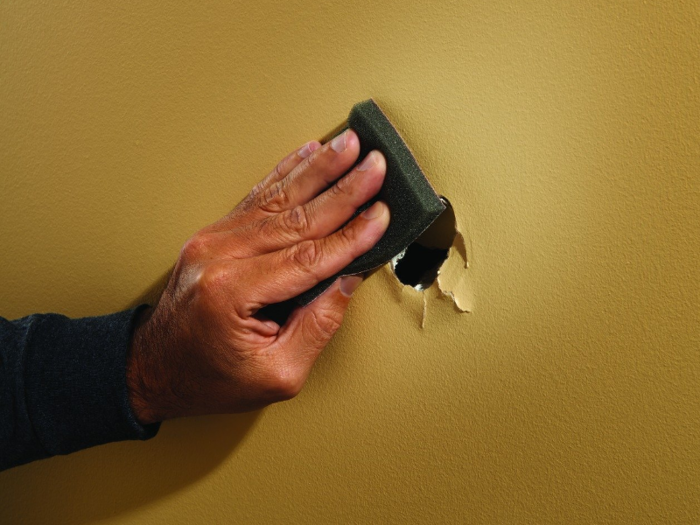
- Use your putty knife to clear away any debris from the hole, and a utility knife to carefully cut away any loose or frayed paper.
- Using the rounded end of a screwdriver or ball-peen hammer, gently press into the hole to create a slight indentation. This will ensure that the edges are flat and just below the surface of the surrounding wall, giving the spackle a depression to fill.
- If the hole is larger than your pinkie finger, crumple up some newspaper and pack it into the hole. The tighter you can pack it in, the more support your spackle will have.
Step 2: Use a putty knife to fill the hole with spackle and let it dry
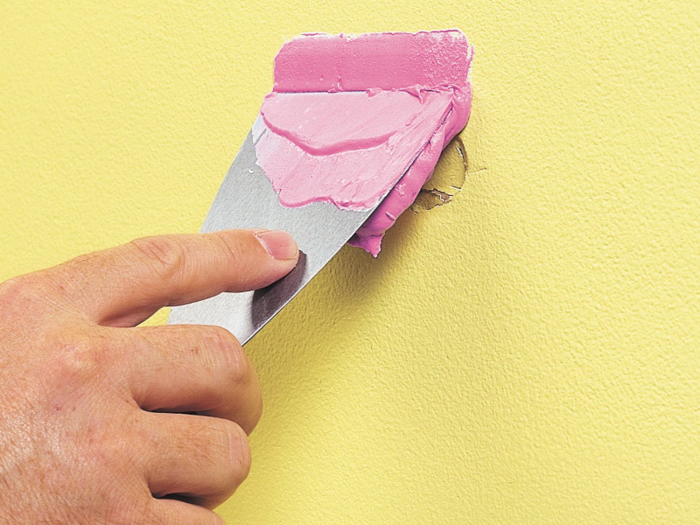
- Scoop a tablespoon-sized amount of spackle and spread it across the hole in an X motion, repeating this several times to make sure the hole is evenly filled.
- Since the spackle will shrink a little bit as it dries, make sure not to scrape the wall totally clean, leaving about 1/8 inch remaining on the surface of the repair area.
- However, if you're covering one of those recessed wall anchor we talked about earlier, feel free to scrape off any remaining spackle, leaving only the small amount in the hole itself.
- Let the spackle dry. For these smaller holes, this should only take an hour or so, but check your container for exact drying times.
Step 3: Sand the area until it's flat and smooth
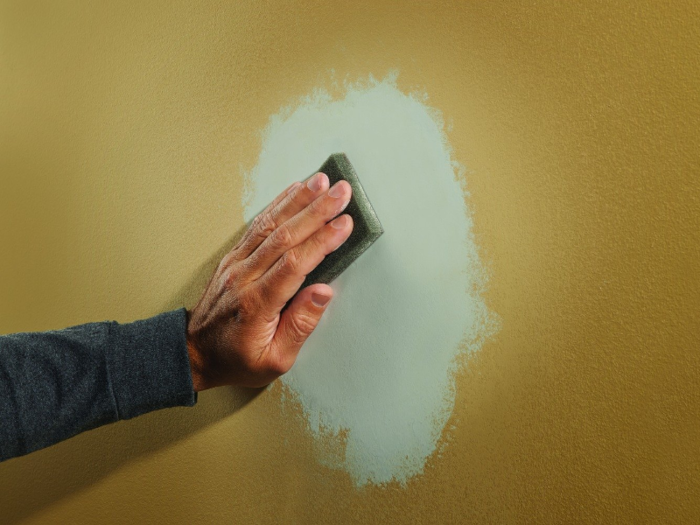
- Using a medium grit sanding sponge, gently sand the dried spackle in a circular motion, smoothing and blending it into the surrounding wall.
- This process can create a lot of dust, so if you're tackling more than a couple holes, wear a dust mask or respirator. The 3M 8511 masks are a great option, I usually buy the ten-pack so I don't have to worry about having any around.
- If your surface is not as smooth as you'd like, repeat steps 2-4 again.
- Paint over the area so it looks like nothing happened.
How to patch and repair larger holes in drywall
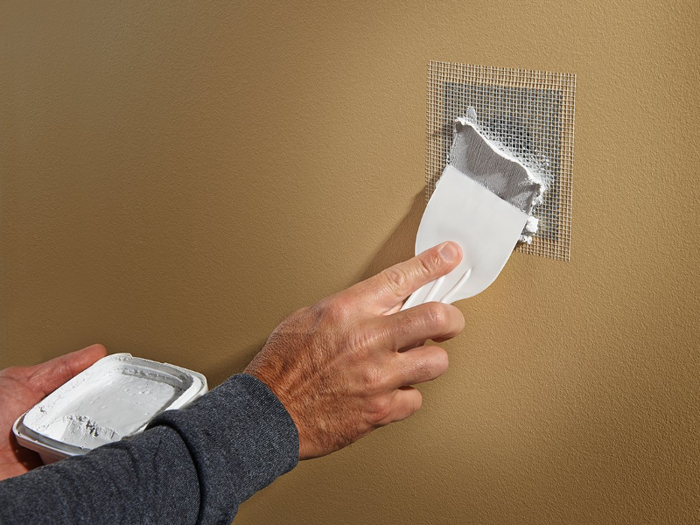
Holes larger than a ½ inch in diameter will require a mesh tape or repair patch to be applied before beginning the spackling process. The Red Devil 1227 2-pack includes a pair of nice big 7x7 inch square patches.
- Sand the edges of the hole down so it's flat and smooth.
- Cut the repair patch or mesh tape to size — create a piece that's about 1 inch wider than the hole it's covering — and stick it right to the drywall.
- Then, apply your spackle. Make sure to completely cover the patch, and overlap onto the surrounding wall about an inch. This will make it much easier to blend into the rest of the wall as you're sanding.
- Once it's dry, sand it down until the wall's surface is flat and smooth
- Paint over the area you just repaired so it looks like nothing happened.
Popular Right Now
Popular Keywords
Advertisement