I made my Italian grandmother's colorful Easter bread, and it's the perfect sweet treat for dessert or breakfast
Victoria Montalti

- Italian Easter bread comes in many forms and styles, but it is enjoyed all over Italy on Easter.
- The braided sweet dough and colorfully dyed eggs make the perfect springtime dessert.
Italian Easter bread is a sweet bread enjoyed around Italy and by Italian Americans, with many renditions.
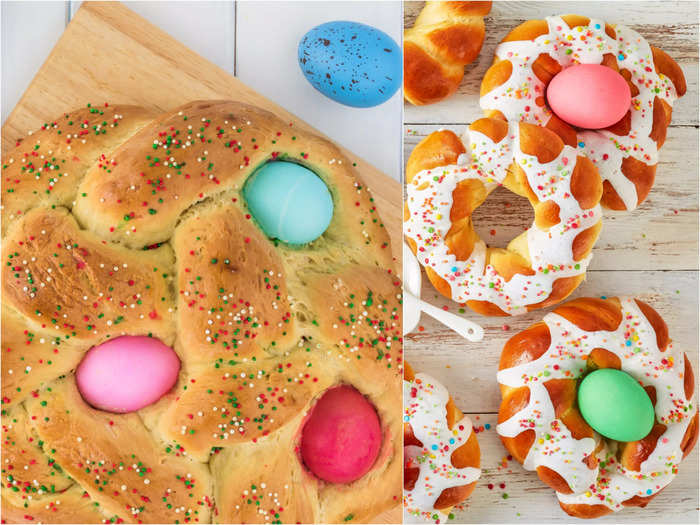
The origins of Italian Easter bread aren't fully known and there are many different interpretations of it depending on regions and family traditions. While some place multiple dyed eggs in one large brioche bun, others create denser personal-size breads with one egg in each.
The bread has a lot of symbolism related to Easter. Eggs represent rebirth, new life, and spring, while the bread shaped into a wreath can represent Jesus Christ's crown of thorns, and when braided with three pieces of dough, it can represent the Holy Trinity.
In the case of some recipes, like my Sicilian grandmother's, dough is also shaped and laid to make a cross on top of the egg.
This recipe requires a few simple ingredients. The time and effort mostly goes into braiding and decorating.
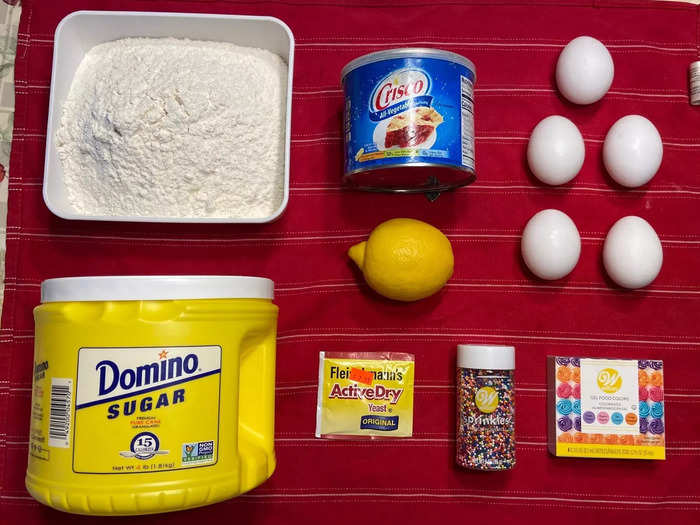
My grandmother has recipes in her head and doesn't need measurements written down, but she will also look up recipes and borrow from them sometimes. So for this bread recipe, we used her methods and standard ingredients combined with a recipe from Giallo Zafferano (which I needed to translate from Italian!).
The recipe for the bread requires flour, sugar, yeast, lemon zest, eggs, and Crisco, which is a vegetable shortening comparable to lard. For the dyed eggs, I needed eggs, distilled white vinegar, and food coloring. An egg wash and sprinkles add the final touch for decorating.
The recipe makes individual, dense braided breads each with their own dyed egg. While the recipe typically makes 10 breads, I wound up making nine.
I used a weighing scale to measure the dry ingredients before adding them to a standing mixer.
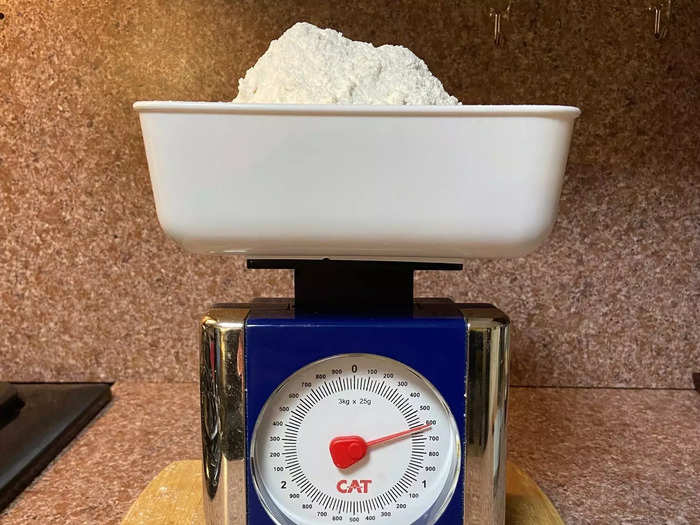
I used a scale to measure my dry ingredients since everything was listed in grams. I measured 600 grams of double-zero flour and 200 grams of sugar.
While the bread could be made completely by hand, my grandmother prefers mixing the dry and wet ingredients in a standing mixer first. I added the flour and sugar to the mixing bowl.
I also added yeast and grated lemon zest into the bowl before combining.
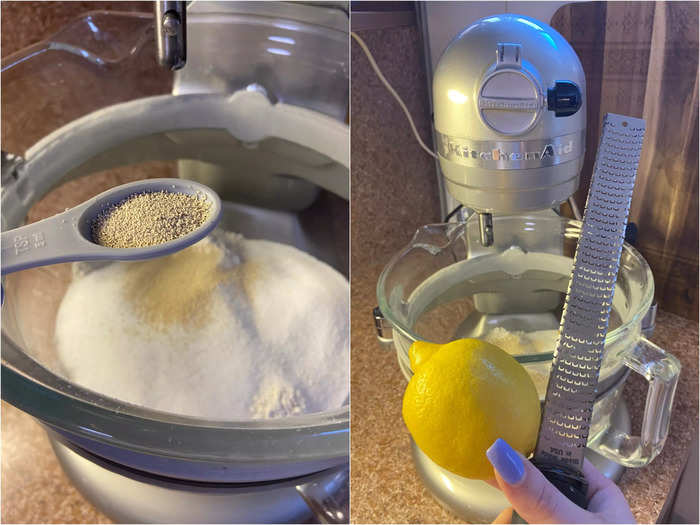
The other important dry ingredient was yeast. The recipe called for 8 grams, which translated to just under 2 teaspoons. I also zested the rind of a full lemon straight into the mixing bowl.
I quickly combined the ingredients with the mixing paddle before moving onto the wet ingredients.
For the wet ingredients, the eggs need to be whisked and then mixed with Crisco.
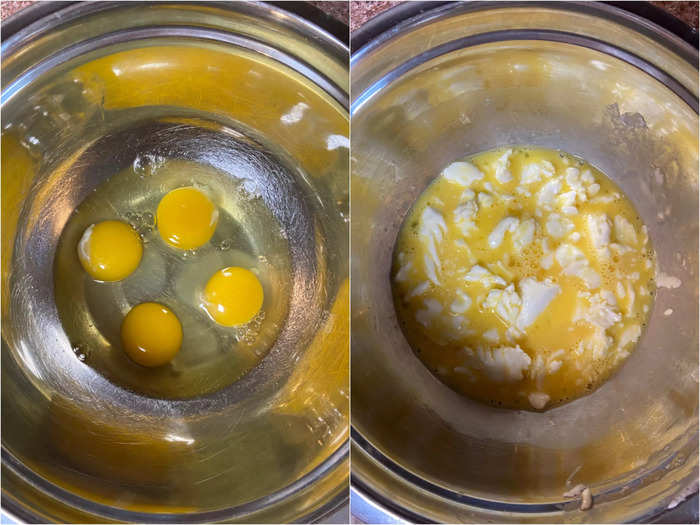
This recipe's wet ingredients were four eggs and two-thirds of a cup of Crisco.
I first lightly beat the eggs with a fork in a large bowl. Then I added the Crisco and used the fork to press down into it to break it up a bit.
Then I added these wet ingredients to the standing mixer's bowl with the dry ingredients.
I turned the mixer on high to form the dough as much as possible.
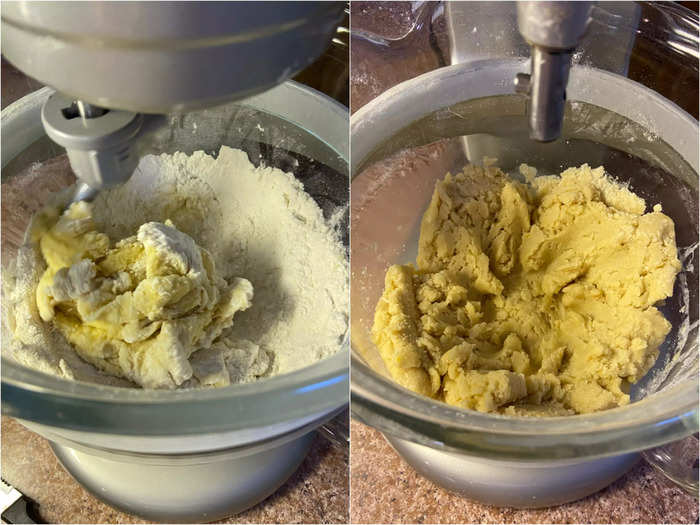
I started mixing the ingredients at a low-medium speed, but it still wasn't quite incorporating, so my grandmother instructed me to turn the speed higher, which of course worked. I kept it on for over five minutes until it looked combined.
After, I hand-kneaded the dough for over 10 minutes to make it smooth and fully combined.
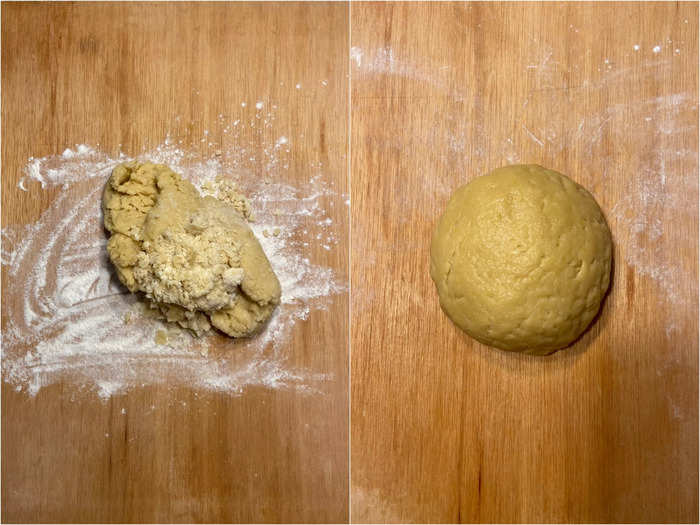
This process made me a bit nervous because when the gluten was forming, it looked like the dough was ripping, cracking, and drying up. It fortunately did not; however, it did require around 10 minutes of kneading to get to a somewhat smooth consistency.
Once it reached that point, I placed the dough back into the mixing bowl and covered it with a piece of Saran wrap. My grandmother said to let it rest and rise for around 30 minutes.
I left it for an hour, which didn't hurt, before kneading it briefly to get it really smooth.
To make the colorful eggs, I boiled them before dyeing them in vibrant food coloring and white vinegar.

While my dough rested, it was time to dye eggs! While it wasn't necessary to boil the eggs before baking them, we decided to boil them to make handling and dyeing them easier.
After about five minutes, I took the eggs out of the pot and let them rest until they cooled down to room temperature.
Then I boiled water for the food coloring. Many sites suggest using distilled white vinegar to help the color stick better. McCormick says to add half a cup of boiling water, 1 teaspoon of the vinegar, and 10 to 20 drops of dye to a bowl.
I did this in four separate bowls for the four color options and added 15 drops in each, which was perfectly vibrant.
I added eggs to each color and flipped them around a few times for a few minutes to ensure full coverage. Once they looked bright, I placed them on a drying rack.
The most difficult part was dividing up the dough equally and braiding it to form a wreath shape.
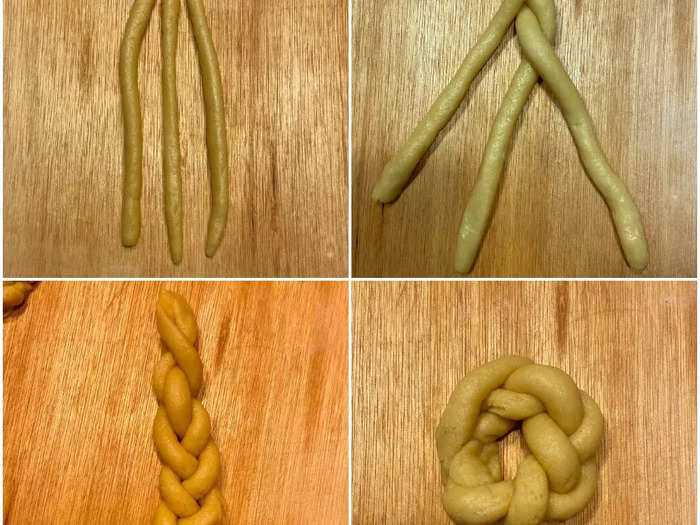
After the dough rested, it was time to divide it up into 10 equal pieces (the 10th was used for the crosses since I didn't have enough to make 10 breads). I then divided each piece into three and rolled them out with my hands on the board to make long, skinny logs. I kept them slightly thick because when they got too skinny, they started to tear.
Once I had three logs, I connected and pinched them together at one end. This was the moment when I realized that I don't know how to braid! While I looked at instructions and videos, I struggled. But if you know how to braid, this will be easy to accomplish.
The idea is to take the outermost pieces and cross them over the middle log and continue back and forth until you reach the end. Once you have a full braid, you connect both ends to make a circle with a hole in the middle, or a wreath.
Each of the wreaths was a different size, which was a bit frustrating ... but it also made for a rustic look.
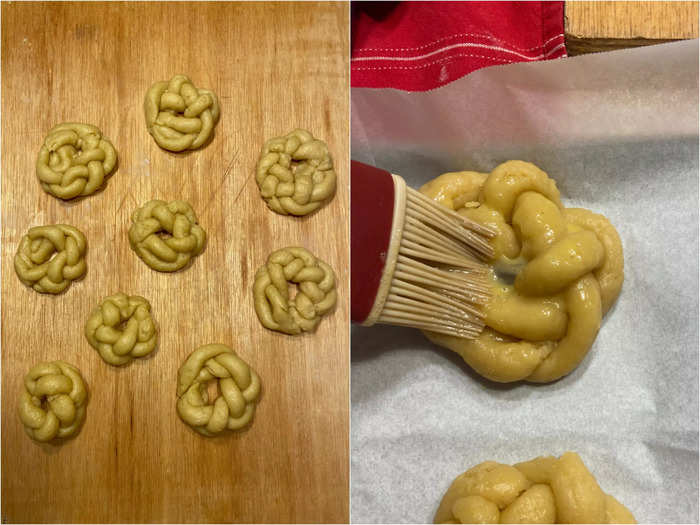
Creating nine individual breads meant a bit of work. They all came out slightly different, with some thicker or larger than others.
But they all achieved the wreath shape and were ready to be placed on a baking sheet and brushed with an egg wash. This egg is beneficial because it acts as a glue and a glaze for added shine.
I placed each of the eggs upright in the center of the dough and created crosses on some of them.
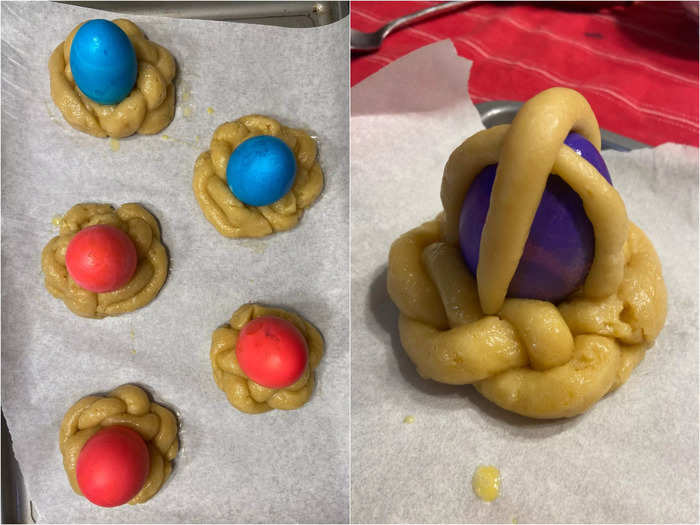
It was time to combine the bread and the dyed eggs. Some recipes say to lay the egg on its side, but my grandmother prefers having them placed upright and standing tall.
I had a little bit of dough left, so I was able to roll skinny logs for the crosses for four eggs. I took two pieces to create one cross, placing it on top of the eggs and adhering it to the wreath. Then I brushed more egg wash on the crosses.
After an egg wash, all the bread needed was colored sprinkles.
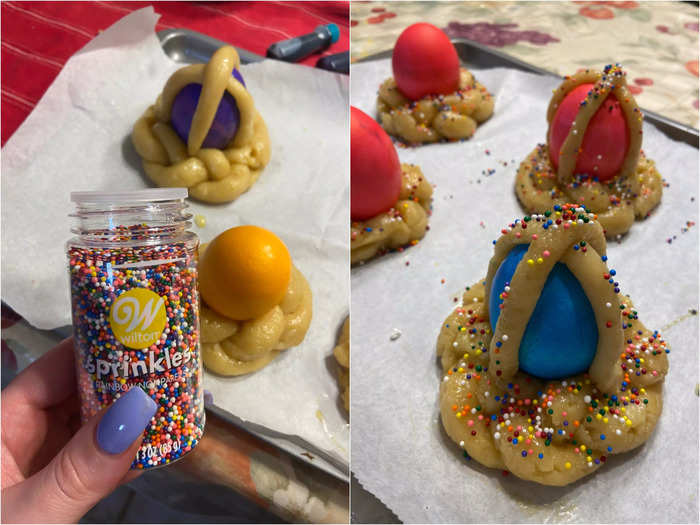
The next fun part was sprinkling nonpareils (circular sprinkles) on the egg-brushed dough. I generously covered the bread — the sprinkles easily stuck to the egg wash.
After baking, the cooked bread and eggs came out looking beautiful and colorful.
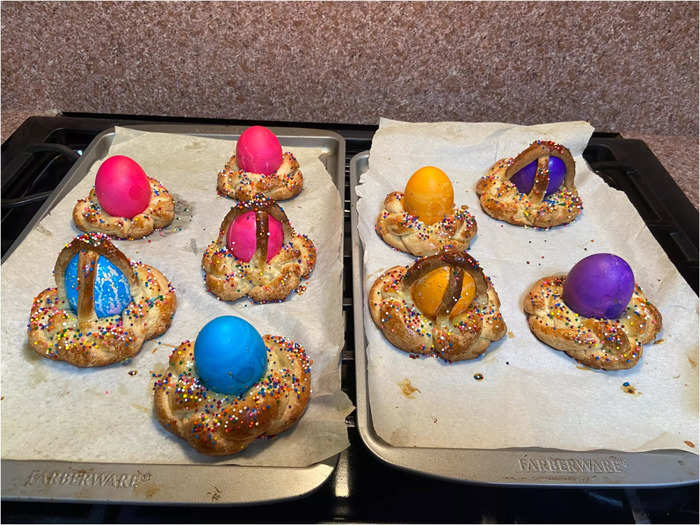
After preheating the oven to 400 degrees, I stuck both pans into the oven and left them for 20 to 25 minutes as suggested. Once it reached 20 minutes, I checked their appearance and poked them with a toothpick to ensure they were fully cooked. They were cooked, but I wanted them to be more golden brown, so I left them for the remaining five minutes.
When I took them out of the oven, I was impressed by how similar they looked to the ones my grandmother makes on Easter. The eggs and sprinkles were beautiful and cheerful. I was also happy that the braids took on some more definition and didn't highlight the imperfections.
The bread was citrusy and sweet and the perfect treat for breakfast or dessert.
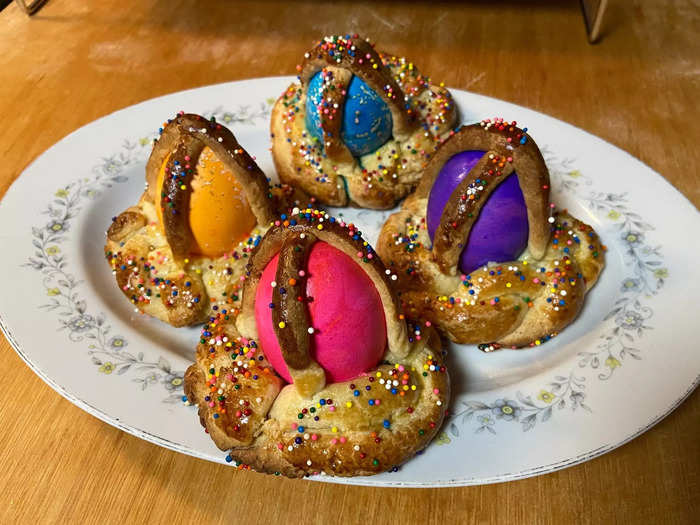
The bread also had a nostalgic taste for me. The lemon stood out, and since it was a sweet bread made with sugar, there was a subtle sweetness, which was amplified by the sprinkles.
The bread was actually pretty heavy in terms of weight. Texture-wise, the exterior was hard and glazed and the inside was dense but not dry. It could potentially be dipped into coffee, but it was delicious on its own as a breakfast treat, snack, or dessert.
While I didn't break open and eat the hard boiled eggs, they were there and fully cooked if I wanted to! Whether you eat them or not, this treat is perfect for your Easter table.
READ MORE ARTICLES ON
Popular Right Now
Popular Keywords
Advertisement