How to crop a photo on your iPhone in two simple ways, and revert a cropped photo back to its original version
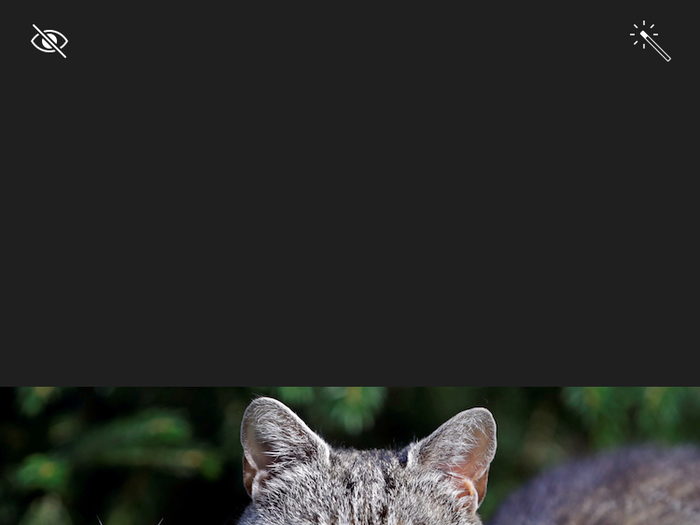
Select the photo you want to crop

Select the crop function
Once you choose to edit the photo, you will be brought to a screen where you have a number of options: adjust lighting, brightness, or reduce red-eye.
Select the cropping tool (next to the blue "Cancel" button on the bottom left) to proceed.
Crop your photo

When you select the crop tool, a white box with defined corners will appear. Drag the corners of the box towards the area you would like to feature, and away from the parts of the image you would like to get rid of.
You can also rotate the image by using the orientation tool.
Use the rule of thirds
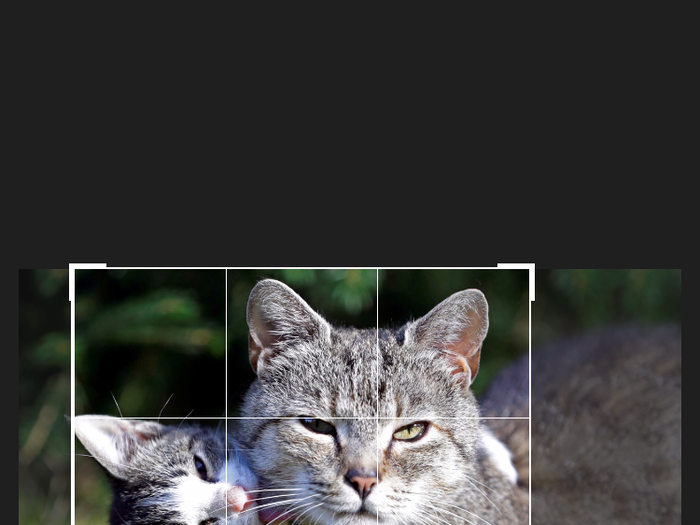
When you drag the white box to crop your photo, a 3x3 grid will appear inside the box. This can help you position the image for a better crop – you can decide to center the image, or use the rule of thirds to draw the viewer's eye to a specific point.
Finalize your crop

Once you release the white box, the photo will adjust to your selected crop. If you don't like the crop or want to adjust it, press the blue reset button on the bottom of your screen, and the image will revert to its original size.
When you are finished cropping, select the yellow "Done" button in the bottom right corner to finalize your cropped photo.
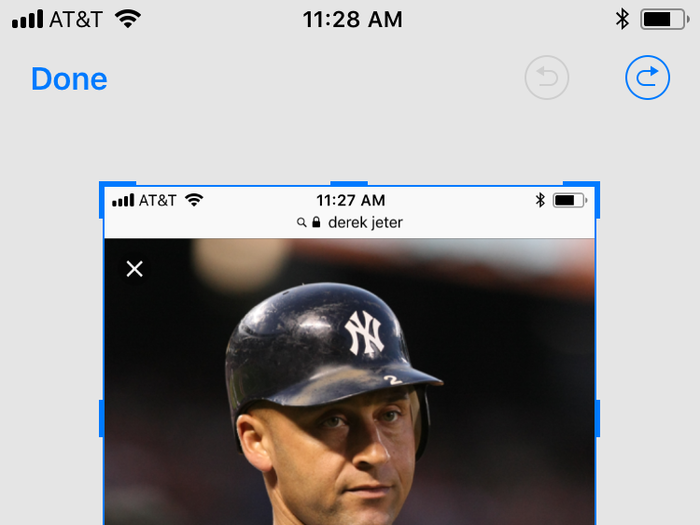
Edit and revert your cropped photo

After you save your cropped photo, you will not lose the original version completely. When you choose to edit the cropped photo, you will see a new option on the bottom right in red – "Revert."
Click "Revert" if you wish to delete your crop and restore the original photo.
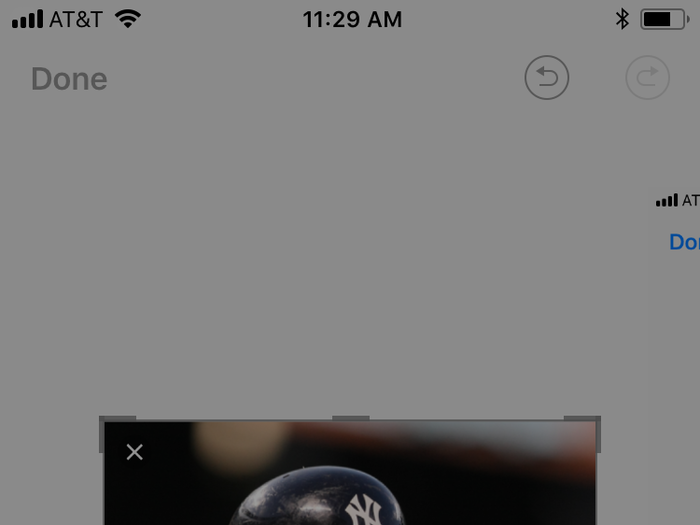
Revert to original to delete your crop entirely

If you decide to click "Revert to Original," your cropped photo will be deleted and the original image will be restored.
Crop a photo by taking a screenshot

Want to crop a photo without saving the original version? If you find any image online, you can crop it immediately just by taking a screenshot, and save the cropped photo directly to your phone.
Take your screenshot

You can take a screenshot on your iPhone at any time by simultaneously pressing two buttons.
On iPhone X models, press the Power and Volume Up buttons.
On older iPhones, press the Power and Home buttons.
For more information on how to take a screenshot, read "How to take a screenshot on any iPhone model."
Crop or edit the screenshot
Once you take a screenshot, a blue border will appear around the image. Drag the blue border to position your crop towards the area of the photo you want to feature, and away from the area you would like to cut out.
You can also use the tools on the bottom to draw or mark up your photo.
When you are finished cropping and editing, click the blue "Done" button in the top left corner of your screen.
Save your screenshot to the Photos app
After your press done, you will have the opportunity to save your screenshot to the Photos app on your iPhone, or delete it if you wish.
To save your cropped screenshot, click "Save to Photos."

Popular Right Now
Popular Keywords
Advertisement