I made Ina Garten's go-to holiday beef brisket and thought it was easy to make.Erin McDowell; Nathan Congleton/NBCU Photo Bank/NBCUniversal/Getty Images
- Ina Garten has said that brisket is one of her favorite recipes to make around the holidays.
- I made Garten's holiday brisket, which calls for carrots, onions, and tomato juice.
With the holiday season in full swing, I decided to try making one of Ina Garten's favorite holiday recipes: her brisket.
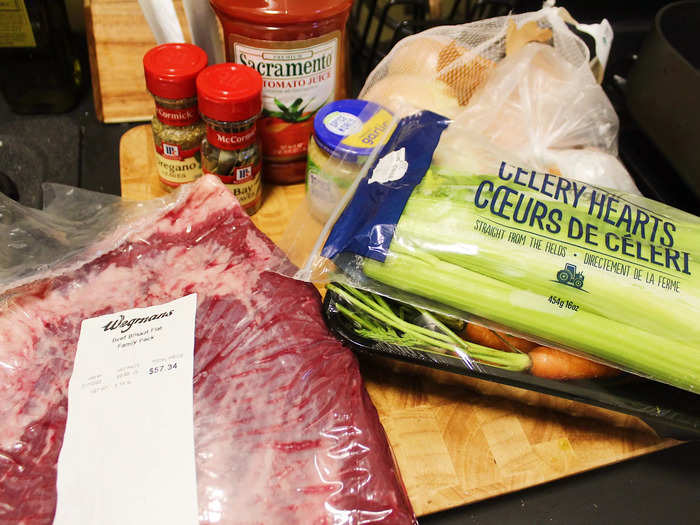
The ingredients for Ina Garten's brisket. Erin McDowell/Insider
The recipe only calls for a few ingredients, though it definitely wasn't cheap to make. The recipe suggests 6 to 7 pounds of beef brisket, which ran me about $50 at my local Wegmans grocery store, as well as celery, carrots, yellow onions, tomato juice, garlic, and a few spices.
You can find the full recipe here.
I started by making the brisket rub.
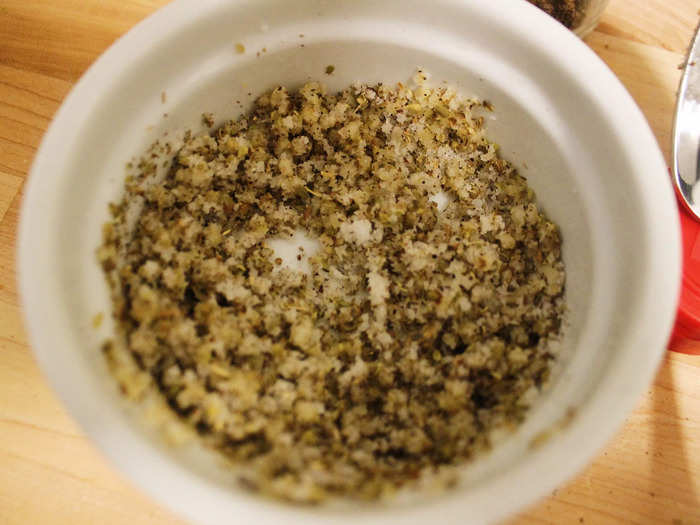
The brisket rub. Erin McDowell/Insider
The rub called for one tablespoon of minced garlic, oregano leaves, salt, and pepper. I usually mince my own garlic, but I used jarred minced garlic this time around, and I found it made the process even easier.
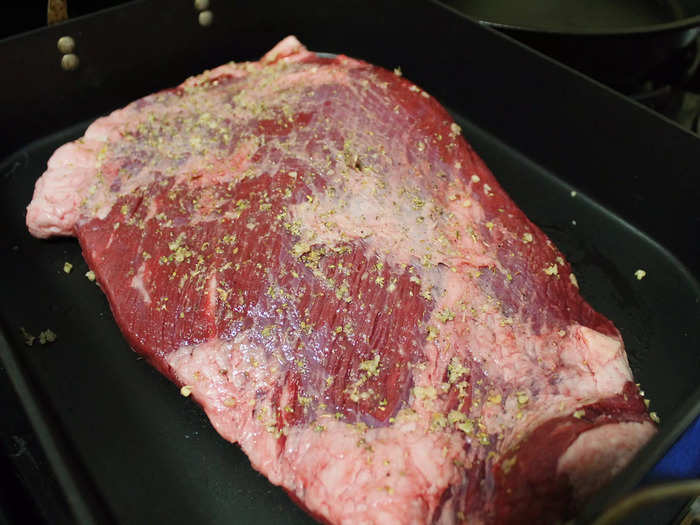
Then I rubbed my brisket with the mixture.
The brisket rubbed with the garlic and herb mixture. Erin McDowell/Insider
You only need to rub the top side of the brisket, rather than the entire thing.
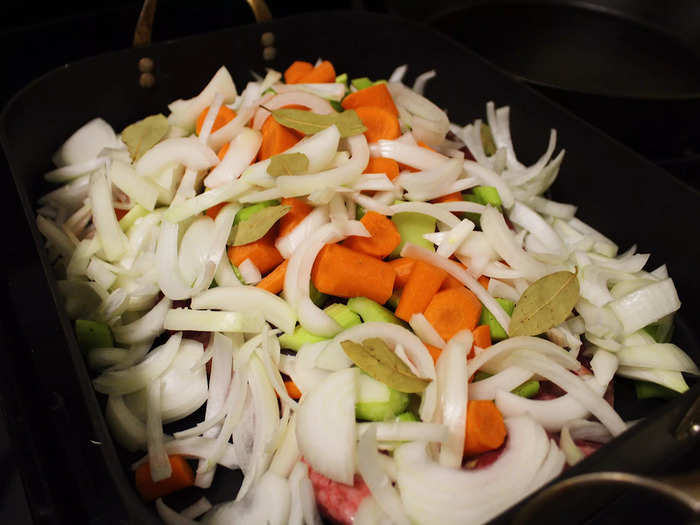
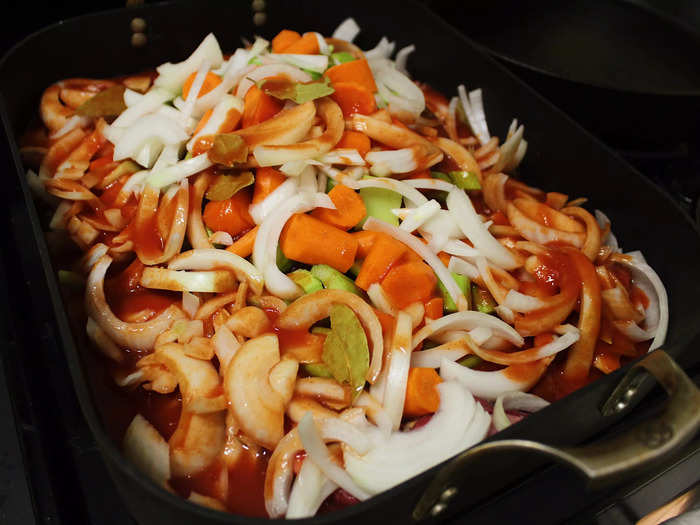
After chopping and slicing the vegetables, I piled them onto the brisket in the roasting pan.
The brisket covered in the vegetables. Erin McDowell/Insider
The recipe called for six yellow onions, sliced, but I ended up only using five. In hindsight, I wish I had used even more carrots — in the end, I didn't think I had quite enough.
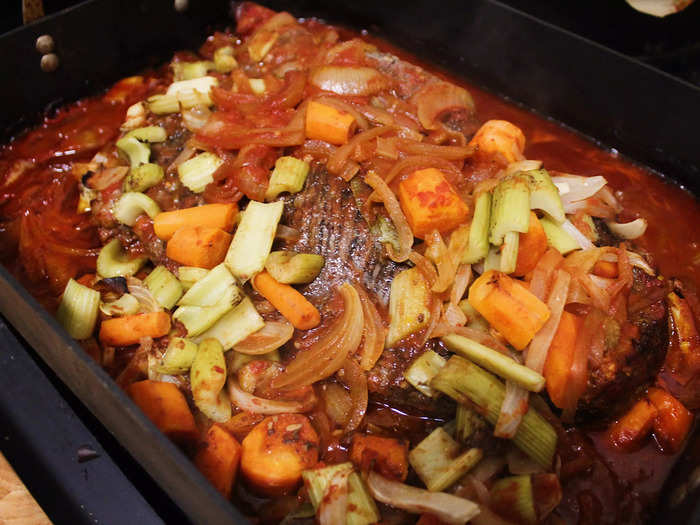
I then added the tomato juice. The recipe suggests pouring it over the pan until the brisket and vegetables are covered three-quarters of the way.
The brisket covered in the vegetables and tomato juice. Erin McDowell/Insider
I ended up using the entire 46-ounce container of tomato juice.
The next step was to cover the entire pan with two sheets of parchment paper, followed by aluminum foil. It's important to use parchment paper in between the brisket and the foil, as tomatoes can have an unwanted chemical reaction with aluminum foil.
After about four hours in the oven, my brisket was done.
The finished brisket covered in the vegetables and tomato juice. Erin McDowell/Insider
The recipe suggested that the brisket would take three-and-a-half hours to cook, but mine ended up taking a little longer, despite being just under 6 pounds.
I could have let the meat continue cooking for even longer to get even more tender, but it looked good enough for me.
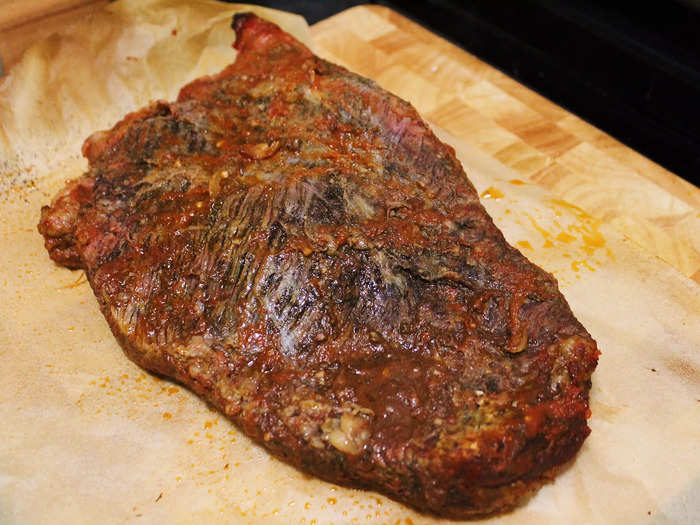
I removed the brisket from the roasting pan and set it aside.
The finished brisket before slicing. Erin McDowell/Insider
I then covered the meat in tin foil to keep it warm while I set about finishing the vegetables and sauce.
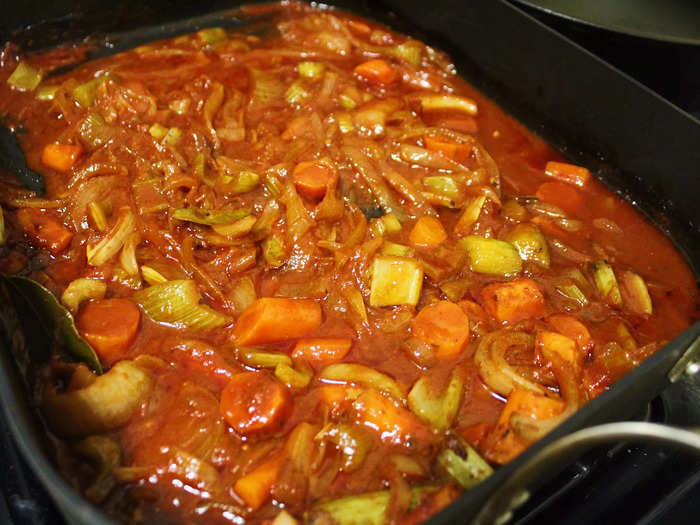
After removing the brisket, I boiled the vegetables and sauce in the roasting pan right on the stove.
The thickened sauce and vegetables in the roasting pan. Erin McDowell/Insider
After about 20 minutes, the sauce was nice and thick.
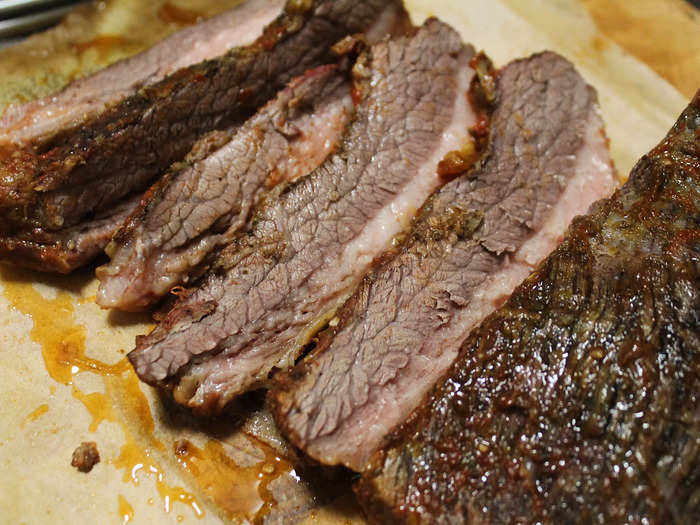
Then it was time to slice the brisket. It looked incredible.
The sliced brisket. Erin McDowell/Insider
I've never made brisket before, but I have eaten some of the best brisket in the country. When I started slicing the meat, I was impressed by how tender it looked. There was a nice layer of fat on each slice, and the meat looked moist and juicy.
The outside, however, had a beautiful crust I knew constituted a good brisket.
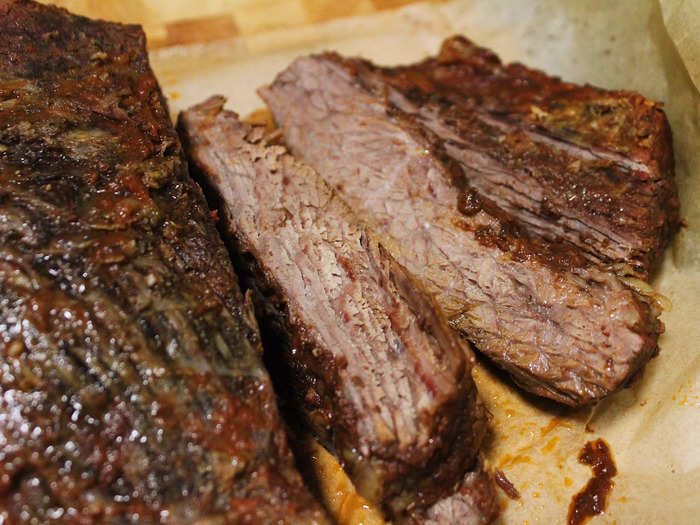
Some slices were less moist than others, however.
The sliced brisket. Erin McDowell/Insider
The side of the brisket cut that naturally had less fat was a little drier than the other end. Regardless, I thought this was actually an asset, as I imagine some people don't like to eat even the recommended quarter-inch of fat on a brisket.
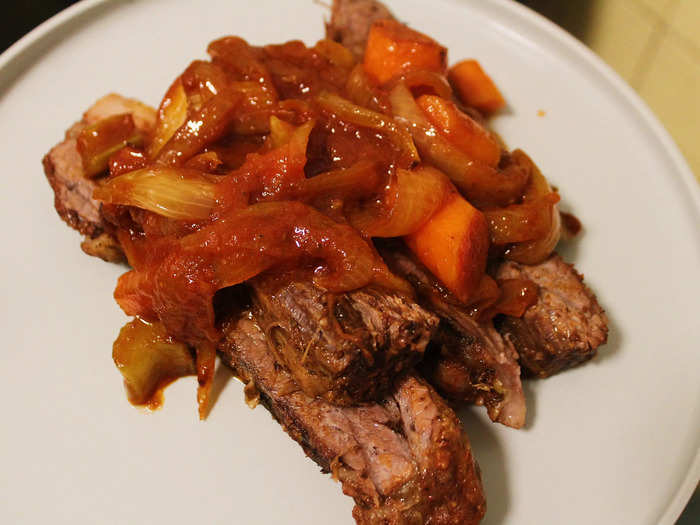
After serving some slices of brisket onto my plate, I topped it with the sauce and the vegetables. The dish looked impressive and tasted delicious.
The finished holiday brisket. Erin McDowell/Insider
I couldn't have been more impressed by Ina Garten's holiday brisket recipe. The brisket was perfectly juicy and tender, and it was so easy to make that even a beginner like me could do it.
This recipe would not only be impressive at any holiday gathering, but it could also feed a large group of people. On the night I made it, it was just me so I ended up with a week's worth of leftovers.
I would definitely make this brisket recipe again — though next time, I'll definitely need some more people around to eat it with me.

