When you buy through our links, we may earn money from our affiliate partners. Learn more.
- Despite the cancellation of many events that happen at the end of a school year, those moments should still be commemorated.
- Taking graduation photos in a cap and gown, pictures in that unworn prom dress, or end-of-year photos for younger students are ways to celebrate these moments in a safe manner.
The end of the 2020 school year looks different than previous years, as seniors mourn the loss of major events like prom and commencements. Another thing that's missing: The pro photographers snapping diploma pictures, dances, and other function from the sidelines.
But the differing mood doesn't mean photographs are any less important. In fact, capturing end-of-the-year photos at home is a safe way to celebrate your kids' milestones — whether it's a high-school graduate or the completion of preschool — during a time when nothing feels normal.
How do you capture the best photos of your graduate, or replace those spring school pictures that never happened? As a professional photographer who regularly photographs seniors and kids, I want to share a few tips that non-photographers can use to snap better photos — even with a smartphone — of those end-the-school-year moments. These portrait photography tips will work for shots in that cap and gown, or that prom dress, sports uniform, or recital costume that have been relegated to the closet, but they will also work with any type of portraits you want to shoot at home, regardless of the event.
Read the original article on
Business Insider
The photo gear to consider
Aris Suwanmalee/Shutterstock
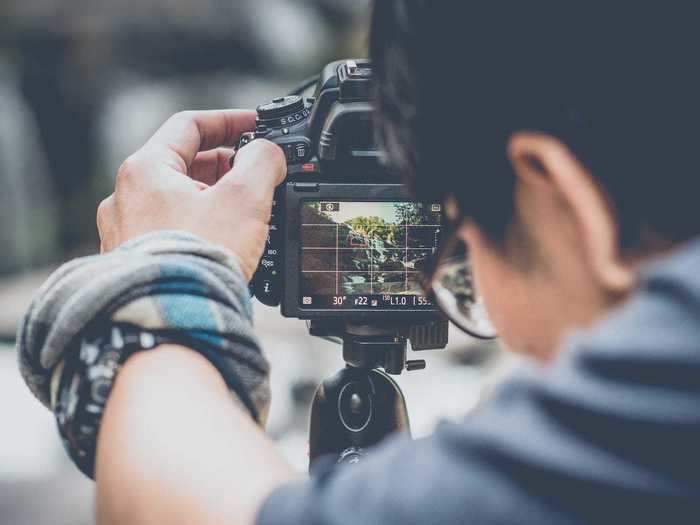
Grab a cameraA DSLR or mirrorless camera is still the best option for taking portraits. Since you won't be photographing anything moving — provided your kid can sit still long enough for to have the portrait taken — you don't need expensive, pro-level cameras, or ones that are the latest models; options like the Nikon D3500, Sony A6000, Canon EOS Rebel T7, or Fujifilm X-T30 are great.
As for the lens, an inexpensive 50mm f/1.8 (known as a "nifty-fifty") is great for portraits. A tripod is also handy to have around. And, don't forget the memory card and battery.
Check out our buying guide on the best memory cards.
If a regular camera isn't handy, use your smartphoneWhile a stand-alone camera is best, smartphone cameras can be used too, although results will look a bit different. To gain more control over your smartphone camera, however, use a camera app with advanced capture features, like Adobe Lightroom CC, Camera+ 2, or Manual. These apps give your smartphone many of the functions you'd find in a stand-alone camera, such as the ability to change the aperture, control focusing, shoot in RAW (an uncompressed mode that retains more data than JPEG), and more.
An editing programYou'll get more professional-looking photos if you spend some time editing after you finish shooting. Pick your favorite editing program for desktop or mobile — ideally, one that's RAW compatible. Or, choose one from our list of favorite photo editors.
Head outdoors (if possible) and find full shade. If indoors, find a window
If shooting outdoors, choose an area that's fully shaded or during a very cloudy day.
Hillary Grigonis/Business Insider
Lighting is one of the most complex aspects of professional photography that takes years to learn and equipment to set up. But the shade? The shade is easy lighting that almost anyone can master. There's no harsh light to make raccoon eyes or sun to squint at.
The key is to look for full shade. If your portrait subject is shaded but there's a spot of sunlight behind them, look for a better spot. The entire photo should be in the shade, including the background. Also, look for an area that's full shade and not dappled, or you may have random spots of light in the photo.
An alternative to shade? Photograph on a cloudy day, and you can snap well-lit photos almost anywhere.
If you don't have a backyard or another outdoor area that's safe to head to, look indoors for a background that's not very busy and that's across from a window — you and the camera should be between the subject and the window, with your back facing the window and the subject's back facing the wall). Avoid shooting at night, since even natural window light is much better than artificial light.
Pose the subject
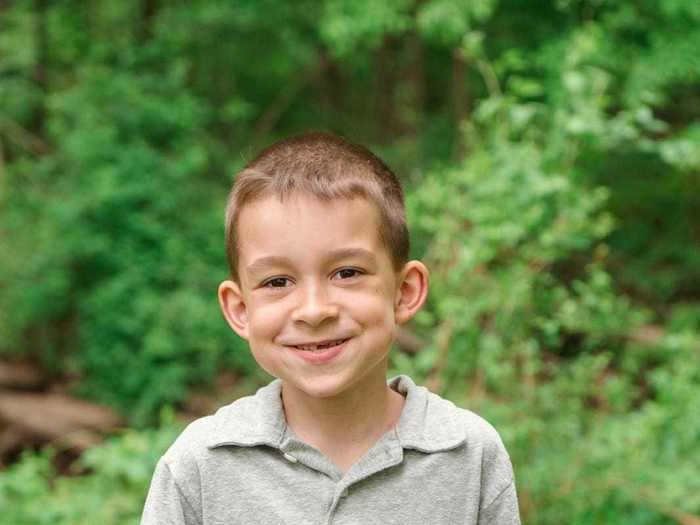
The author's son poses for his graduation photo, taken at home. Younger subjects don't pose as well as adults, so give them an example by modeling the post yourself.
Hillary Grigonis/Business Insider
Start with the feet — bending a knee exaggerates curves, while standing with the feet shoulder-width apart is a strong, confident pose. Standing and facing straight-on toward the camera will make any portrait subject appear larger, which can be great for athletic photos but not so much for that shot in a floor-length prom gown. Offering something for the hands to do tends to be both a flattering pose while easing the nerves of being in front of a camera — they can hold something such as a diploma, put one hand on a hip, or cross their arms.
Younger subjects don't often pose well, so don't use those same pose instructions for a preschooler. Show them how you would like them to stand or sit by modeling it yourself. Or, give young kids something to hold.
Expose for the face and focus on the eyes
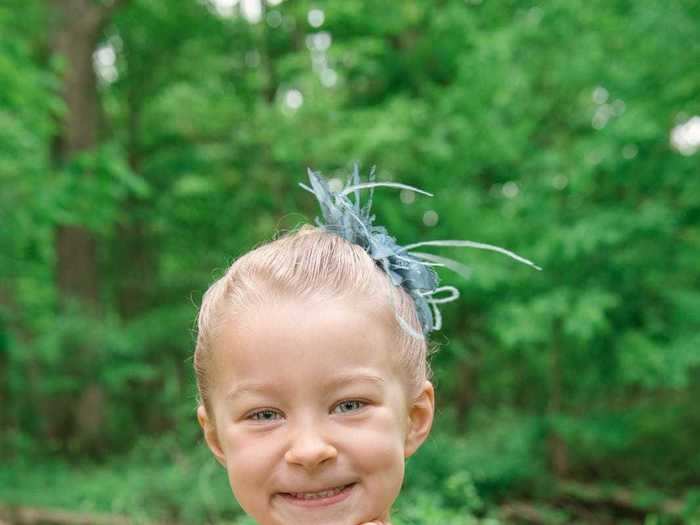
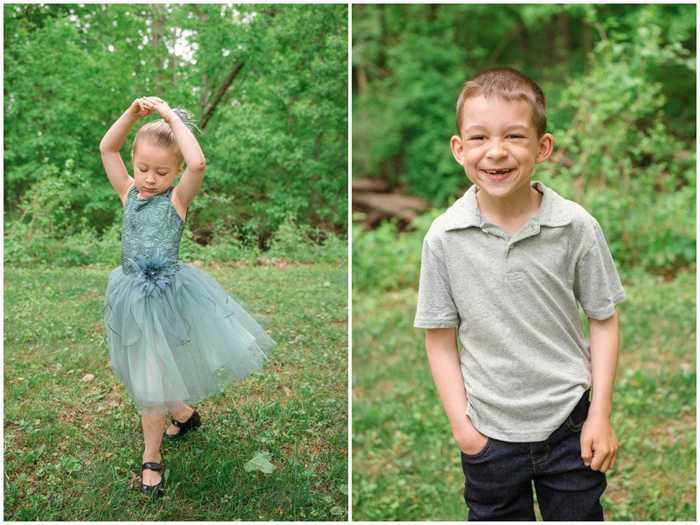
The author's daughter in her recital outfit. It's important to set the exposure and focus, as shown here.
Hillary Grigonis/Business Insider
Set your exposure, or how light or dark the image is. If you are comfortable in semi-manual modes, use aperture priority and a low f-number, like f/2.8 or f/4, to blur out the background (shallow depth of field). If that last sentence sounds like gibberish to you, check your camera's scene modes for a portrait mode. Take a test shot: If the photo is too dark or too light, use the exposure compensation option. On a dedicated camera, it's usually adjusted by turning the dial while pressing the icon with a +/-, but check the manual for your specific camera if unsure.
If you plan to edit the photos (and you should), consider shooting in RAW. RAW files contain more information than JPEG, which gives you more flexibility when editing in software. However, the files will be significantly larger.
In a portrait, hold the camera vertically to get a full-length shot. Then, set the focus on the eyes. Use the "eye AF" mode if your camera has it; if not, try the single-point autofocus mode and place the little green focus box over the subject's eyes. The autofocus mode is typically adjusted through the shooting settings menu. In newer cameras with touchscreens, you can also tap-to-focus on the area with the eyes.
On a smartphone, both the exposure and focus can be set in the same step. Tap and hold on the subject's face on the screen to lock the focus there. If the image is too light or too dark, drag your finger up (to lighten) or down (to darken) using the onscreen slider next to the box that appears after you lock focus. This technique works with most apps, but will vary depending on the app you are shooting with; in Adobe Lightroom for mobile, for example, you adjust via the exposure menu at the bottom.
Take the shot (and many shots)
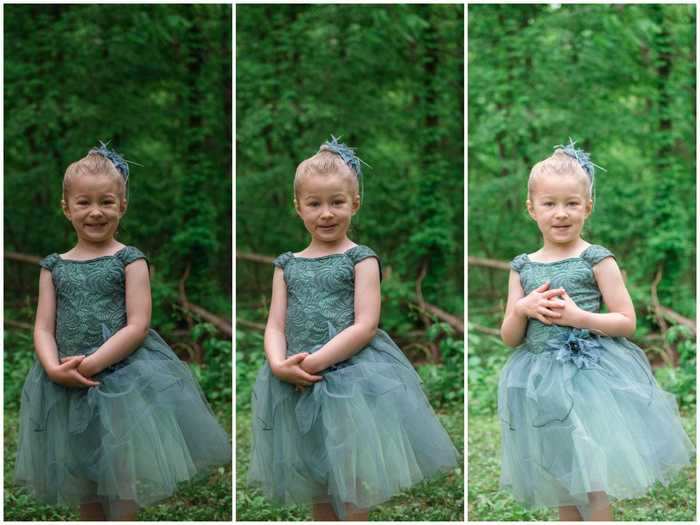
Don't take just one shot, and vary the poses.
Hillary Grigonis/Business Insider
After your subject is posed and the camera is set, you're ready to snap the photo. Try varying your composition, or what's included in the photo and what's not, by photographing close-ups and full-body shots — don't be afraid to get close to the subject's face — as well as watching the background for any distractions. Varying the pose a bit too can help get a variety of shots or help you settle on a favorite. And take lots of photos so you have options to work with, but don't go crazy unless you want to spend hours going through that batch.
Also, don't forget about ancillary shots that complement the portraiture. Things like a cap on a table, a prom dress on a hanger, or a parent helping a young child into a graduation gown can add to the moment.
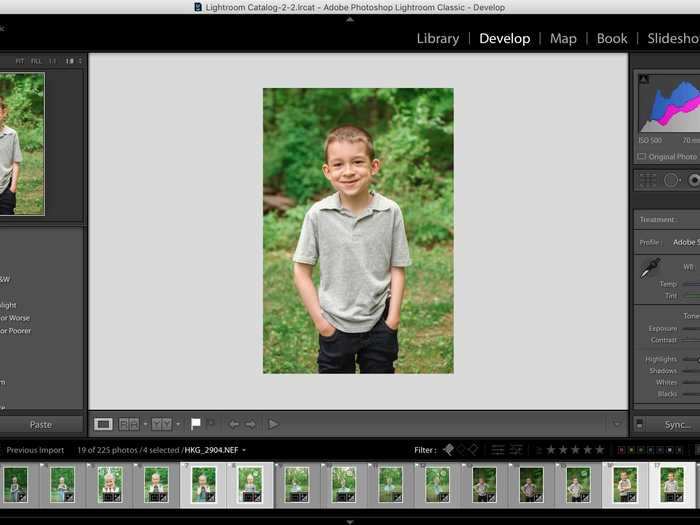
Take a moment to edit the photos
When editing, try adjusting the exposure, contrast, highlights, and shadows, as well as color temperature and saturation. Remember: A little goes a long way.
Hillary Grigonis/Business Insider
After you are done taking the photos, enhance them with a photo editor. But first, isolate the batch of photos to the ones you like.
Inexperienced photo editors can often start by applying a filter or hitting the auto button to jumpstart the editing process. Then, play with the sliders: Move the exposure slider left or right to lighten or darken; add contrast by brightening with the highlights or whites slider; and darken the shadows and blacks. If the photo appears too blue or orange, adjust using the white balance tools. If you are worried about making unwanted permanent changes, save a copy of the image before you work on it. (Shooting in RAW provides more data for the editing software to work with, which will give you greater control over adjustments.)
Once you are finished, walk away and do something else for a few minutes. Then, come back and look at the photo objectively. Inexperienced photographers tend to over-edit, making colors too saturated and images too sharp. Fine-tune those edits before sharing.
Share your work
Hillary Grigonis/Business Insider
It's likely you're connected to friends and family over social media, so upload to Facebook, Instagram, or whichever network you use. If you don't use social media, good-old e-mail works.
But you might want to share physical prints. You can have your photos printed using an online service, which can be mailed to you or picked up at a location that's opened during this time.
Another option is to print them at home, using a color inkjet printer that supports photo printing. You can also get a specialty inkjet printer that's designed purely for photos, like the Epson PictureMate PM-400 or Canon Selphy CP1300. Using dye-sub inks, these printers create fantastic photos, but they can't print larger than 4 x 6.
For something fun, try printing the photos with an instant photo printer. We recommend the Fujifilm Instax Mini Link, Polaroid Lab Instant Printer, Kodak Smile, Canon Ivy Mini Mobile, HP Sprocket, and LifePrint 3 x 4.5 — products we've tested and like. Fujifilm and Polaroid use the familiar instant photo technology that many people grew up with, which create richer, more true-to-life colors. Kodak, Canon, HP, and LifePrint use a digital printing system called Zink, which aren't as good as Fujifilm and Polaroid but are fun and shareable, and you can embed an invisible code on them to access augmented reality features with a smartphone. Note: These devices require you to print from a smartphone or tablet. — Les Shu

